Showing posts with label artisan beads. Show all posts

Friday, September 25, 2015

by Staci Louise Smith

I have been wanting to do some posts like this for awhile, but like always, busy busy busy!  

I have a bunch of Sugar Skull focals in the shop, as well as some other focals similar to the sugar skulls, and I wanted to give you guys some idea of what you can do with them. 


I had a few laid out on my desk, as I am prepping for a show this weekend, not sure what to do with them.  

At first I wanted to just add chain and a dangle and keep them super simple.  But it was too simple.............so I planned to add charms to the chain.  I wasn't sure how much to do charm wise, and was sort of thinking they needed chunky charms.
I hadn't finished figuring out that part, when Linda Landig posted a necklace she had made with one of my old bronze skulls, 
(you can purchase Linda's necklace here

and seeing her little dangles sealed the deal for me.  That is what my plain old necklace needed.  Just some simple dangles.  It really captures the Dia de los Muertos feel I think.

So I added my double dangly charms (flower beads by Lisa Peters Art- they were the perfect match!!!)
And I added my chain, and picked out charms to accent the colors in my skull, and voila!  I love the results!


(ceramic stars by Starry Road Studio)

So here are my tips when doing a charm style necklace- not quite a tutorial, but this should help if you tend to struggle with them.

1.  pick out way more stones and beads in a variety of sizes then you will use
2.  lay them out, spacing out larger beads, and filling in the spaces between them with smaller beads
3.  when you use a cable chain, like this one, only hang charms on EVERY OTHER LINK so they lay properly.  the links alternate directions and your charms won't hang right otherwise.  Also, be sure to keep the chain from turning.  I pick it up and make sure the chain is laying correctly so the charms are always added to the bottom of the link
4.  skip a few "hangable" links for each big piece.  I like to hold the piece up to my neck and look at it each time I add a bead to make sure they hang right
5.  Fill the links you skipped with tiny beads to create movement and fill the space without them bumping into the other beads causing them to lay inccorectly.
6.  Try to use beads of a consistent thickness.  if you use beads that are tooooo round they will stick out when you wear it and roll around.
And there you have it.  A simple necklace that is not too plain, not too much!  I haven't taken this one off yet and I cannot wait to design the others on my table.

Remember, you too can make some "charming" necklaces using the components in my shop.  Lots of sugar skulls left.  I love taking the form of a skull and making it pretty.  So fun!

Thursday, August 20, 2015

BEAD FEST Fall 2015

by Staci Louise Smith

I remember just a few years back, when I was about to do my very first Beadfest.....man I was excited!  
Genea and I shared a booth, it was so fun!

It was all new and shiny- we didn't know what to expect....we were little fish in a big sea.

This year has been very different.  I know what to expect.  The nerves are not there like they were the first year..........and though I am still a little fish in a big sea, I feel like I have learned to swim better!  

This show does prove have a bit more excitement leading up to it though.  It stands out from the art and jewelry shows I do, because #1- there are lots of bead and gemstones and #2 there are lots of bead and jewelry friends I get to see.  (You can see where my love lies.)

This year, I am sharing a corner with our own Marsha Neal!!!  We are in the back of Artisan Alley with Nikki Thornburg and Diane Hawkey.

As I have been prepping (and if you want to read about that craziness you can do that here- with lots of eye candy pictures) 

http://www.stacilouise.blogspot.com/2015/08/august-beadfest-prep-and-end-of-summer.html

I have been thinking how much things have changed over the last 5 years for me.  Not just how my business has grown, but how I have grown.  I can honestly say that without the support of this wonderful bead / art community I could not have done it.  Without other artists sharing marketing tips, cross promoting, encouraging me..........well, I would have given up I am sure of it.  Anyhow, that is all.  I am thankful for my online friends, and that I get to see them at least once a year if we are all lucky.  I am thankful for this blog, which has allowed me to share what I have learned and for the ladies who have guided me and been there by my side.

(picture of some of the bead gals together for a dinner) 

I am also thankful for the readers, who read what we put on here......so we are not "talking" to ourselves (which I actually do at times....lol.  studio life can be lonely- though I usually chalk it up to "that was directed at the dog")

OK...Crazy month of prep= a very tired me.  So thanks for listening to my sentimental tired post.  Onto more fun things, like- 

A coupon to get into Bead Fest for the entire weekend for only $5.  Print this out and bring it with you- and feel free to share it.  (if enough people use my coupon I could win some free advertising).  

I am booth 572B and you can find a map of the expo center with booth numbers on the main Bead Fest site www.beadfest.com

Now for some eye candy.  After a month of intense bead making, I could NOT wait to play with the new beads.  And of course, I need samples that are current and something new to wear as well.  So, here are a few I whipped up


If you are able to come out to Bead Fest, please stop by and say hello!  Today I leave to go and set up all these goodies in Oaks.  wish me luck!


Thursday, July 2, 2015

Contrast: Blinging up my Rustic

by Staci Louise Smith

I finally decided to try adding a little "bling" to my rustic.  I love contrast, and I am surprised at myself, for not trying this sooner!

I love how Gaia Copia uses crystals with her natural shapes, like her ammonite and crystal earrings.  Her rustic bling has always inspired me!

you can check our more of her work here- while her website is under construction


So I ordered me some crystals and got into it.  

I spent a day making these before I left for our trip, and just could NOT wait to paint them and see how they looked finished.


So then of course, I painted a few before we left too, because I am so impatient.
(they are mid-paint here)

So when I got home from vacation and went to clean off my desk, I could not just put these to the side, they were begging to be made into something right now.  

So of course, I obliged.


So now I can move onto other things on my list.  

Do you ever have that happen?  That you can't move onto what you are supposed to be doing, because you just HAVE to finish something that sparked your creativity?  Happens to me all the time!

The rest of the beads are not done, but the necklaces are available through my Facebook page (below) if you are interested, just message me.  Otherwise, they will venture to my next show with me. 


Thursday, February 21, 2013

The Bead Show

by Staci L. Smith

If you follow me at all on facebook or my personal blog you will know I am prepping for a bead show.  So, either you are loving all the process pics and beady sneak peeks, or getting tired of hearing about it.  (I hope you are loving all the pics)  Anyhow, I'd like to tell you a little bit about Berks Bead Bazaar.
 
It was the first bead show I ever attended and I was immediately in love.  It's not too big, but has everything you could want and then some.  It is run by bead artists Joan Miller and Louise Mehaffey.  I think having a show run by artists brings an extra level of creativity to the show.   They pick unique bead artist, as well as wonderful vendors for gemstones, findings, ect.....
 
Last year was my first year vending as a bead artist there, I guess  Berks is a place for firsts for me.  I fell in love with it- the customers were wonderful and fun, my fellow artists and neighbors were wonderful.....great time was had by all.
 
I hope if you are local, or within travel distance, you will try to come out and visit the show.  If you do, please make sure to let me know you who you are so I can meet you in person!
 
My display will look roughly like this (minus the wall and pictures hanging in the background)...............
 
 
My daughter Julia is helping me at the show (she is 8), and has a tray of her own beads available to sell as well.  She is saving up to buy her own beads (below) at the show! (gotta start them young)
 
 
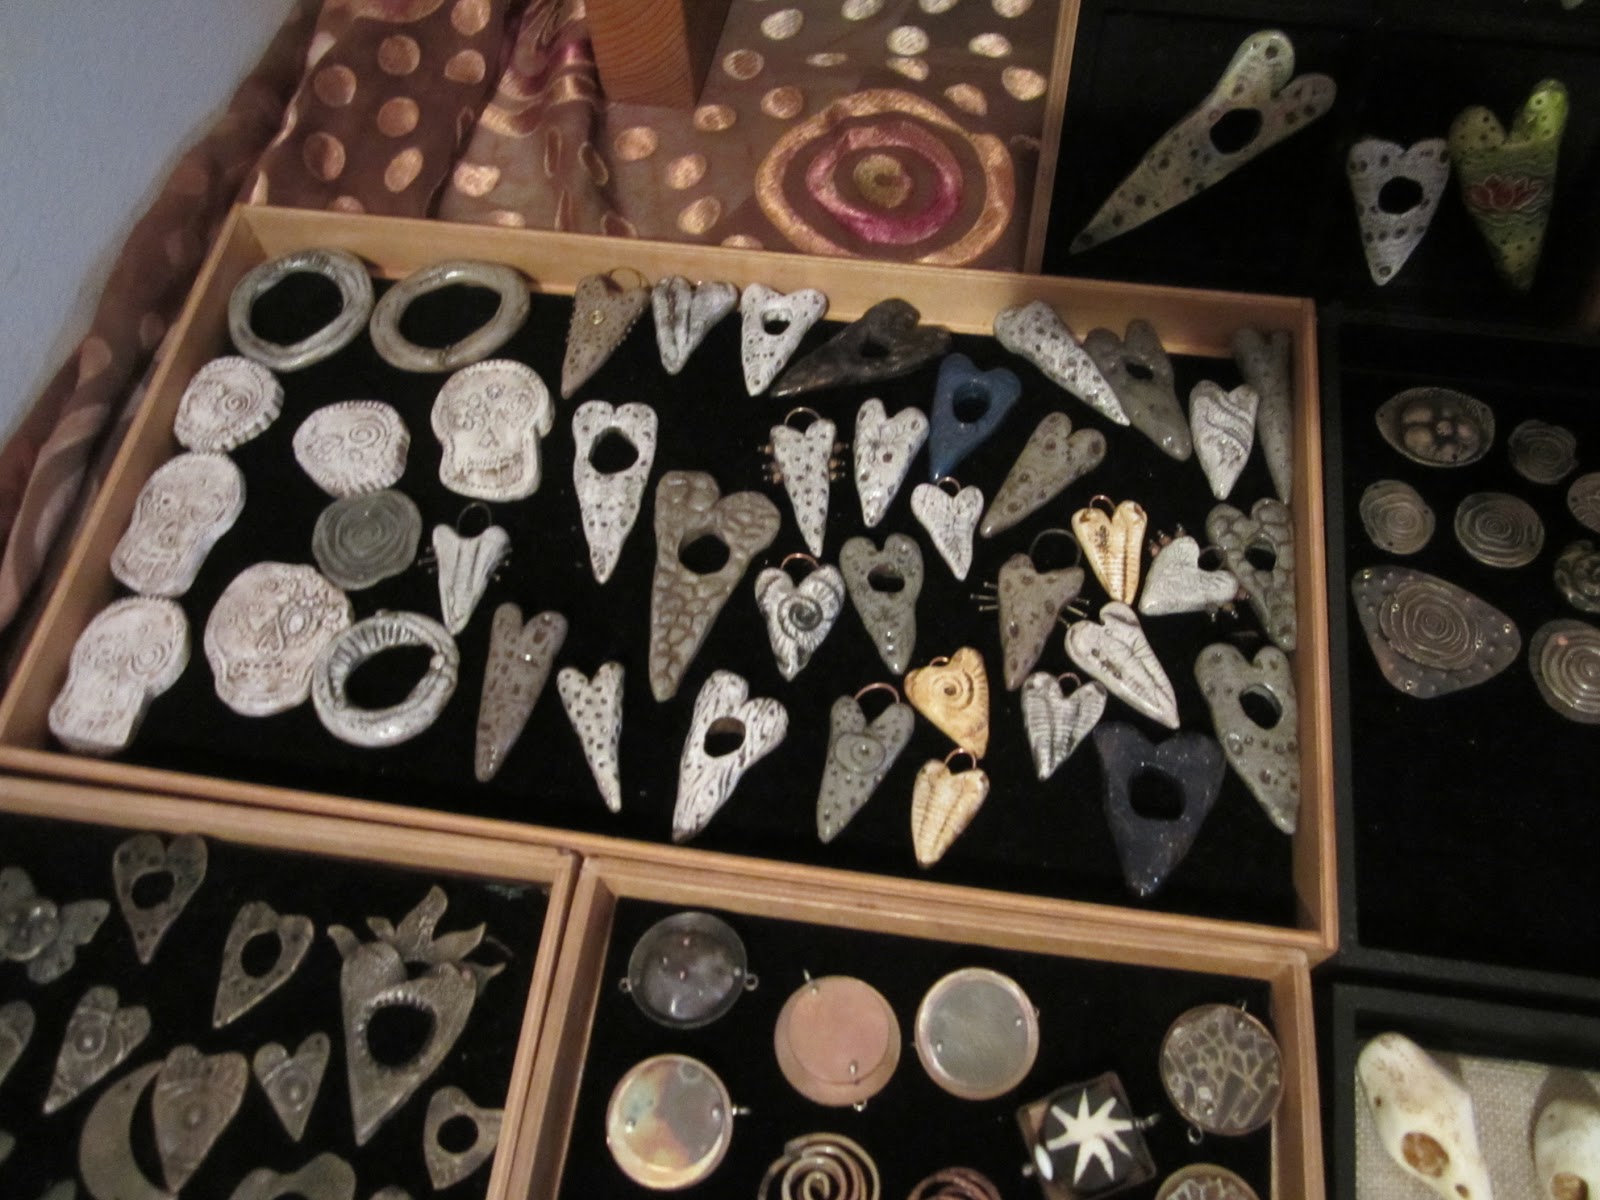
And here are some of the goodies I will have for sale.  I need to finish up another tray or two this weekend, and then pricing begins.


Prepping to vend a bead show is crazy, but I have to say, I love being up to my elbows in beads.
 
Anyone here who doesn't like being surrounded by beads?  Yeah, that's what I thought.  Who doesn't love beads?
 
Here is the link to the show again www.berksbeadbazaar.com and there is a coupon for $1 off your admission!


Thursday, January 17, 2013

A Peek into Production

Well, it's that time of year for me, the time of year when I crunch to have enough stock for the Berks Bead Bazaar in 6 weeks.  As of last weekend, I had nothing  to sell.  I still don't have anything sell ready, but my beads are underway.  So I thought I'd give you a peek into the madness, I mean, production.


I also have lots of new designs, including some toggle clasps!!!  I made my Moon Babies smaller this year, and shrank down some other designs as well, because sometimes they need to be the accent and not the focal.    So without further ado, here is the photo journey of bronze beads.


Bronze clay freshly molded, still damp


Then they go onto the hot plates....when I go into high production, two is not enough!  (I am not patient at all)


Next they get sanded with a soft sanding pad to smooth the edges, and holes get drilled at this point


Then they go onto a tray .
After that, they are fired in the kiln.


This is what they look like out of the kiln, with a light brass brushing under water to clean the carbon off.


You can see the finish is kinda matte- that's because the particles are not compressed yet.  The bronze is very porous at this stage.  To make it shiny and add strength, I put it into the tumbler with steel shot for anywhere from 10 minutes to an hour depending on the finish I want.


Looking into the tumbler when they are done polishing.


All shined up and ready for patina or a liver of sulfur bath.

The bunnies are new- and I plan to use ball head pins, balled on both sides, to rivet them to a backing.  I will hopefully have that to show one of these Mondays!

Here are some more of my new designs before they are cleaned up.  


I hope you enjoyed this peek into the process of bronze mass production. I really enjoy working this way- in batches!  I get into a nice groove and just go with it.

What about you?  Do like to work in big batches, or small / single projects?