Showing posts with label cold connections. Show all posts

Tuesday, July 21, 2015

Tutorial Tuesday – In Focus, Using Optic Lenses in Jewelry Design by Karen McGovern

Howdy all! I almost missed this post. I fell into a black hole….decided to binge watch the first two seasons of True Blood! Guilty pleasure admission—when that show came out I fell in love with it, but didn’t catch the first two seasons. Read all the books, hilarious! So, basically, I’ve been doing nothing but lying in bed with super-sized bags of assorted snack products shouting at the TV. Eric getting his hair highlighted while torturing Lafayette in the basement?!?!? LOLS for days. Endless episodes featuring Sam Merlotte’s bare butt? YES, PLEASE. Haven’t gotten to Alcide yet—OMG. Anyhoooo…..


Before my vampire binge, last week I finished a pendant design that I’d been imagining for a while. A tribute to Frida Kahlo (who would have loved True Blood, I bet). I got the idea when I heard about all the love letters that had come to light written by Frida to Diego Rivera, her lover, partner and sometimes adversary. I wanted to feature a bit of one of her love letters in a pendant, and decided to use an optic lens to do so. Optic lenses are great to work with, and have been around the jewelry world for a long time now. Wildly popular and readily available in reproductions by several jewelry finding lines. I started collecting them a couple years ago and am lucky enough to have actual vintage and antique lenses, many dating to the late 1800s and early 1900s. Found these beauties at antique fairs. True vintage lenses are not as easy to find these days, but you can find them if you dig deep enough on the Internet.

AMOR. My tribute to Frida Kahlo and Diego Rivera

So, today I’ll show you how to easily create a pendant to hold a memory (letter, photo, favorite page from a book, dried flowers, insect wings—whatever) using an optic lens, copper, bits of this and that, and micro screws. All cold connected, no soldering involved.

Vintage lens I grabbed from an antique show.

First, lay your optic lens on a sheet of 24 gauge copper and trace a shape around it for the pendant base. I like shield shapes, they fit the optic lens nicely and allow the “handle” of the lens to become an attachment point to the base at the bottom. Allow enough room around the lens to add other items you will use as attachment points for the lens and as embellishments for the design itself. I used layers of brass flowers, enamel copper and assorted beads for the Kahlo design referencing the elaborate floral designs she often wore in her hair. You need at least three strong attachment points for the lens to hold it firmly and permanently in place on the copper. Cut or saw out the copper, sand the edges smooth, then lay out your design roughly so you can mark where your attachment points will be. I usually create a nice, larger embellishment right on the top of the lens that will also be the point where I attach a pendant bail…we’ll talk about that later. Anything with a hole big enough to accept a micro screw can be used as embellishments and attachments for the lens. Brass flowers and leaves are great here, end caps you flare or flatten, buttons, discs--the possibilities are endless. Choose items that play a part in the overall design or memory you want to create!


Once you have the design laid out to your liking, mark where you need to punch or drill holes for the micro screws using a fine line Sharpie. Punch or drill the holes and clean the holes with a needle file. At this point you can texture the copper if you like, etch a design on the back for added interest, patina, whatever you like. Seal any colored metal with clear acrylic specific for metals.

Now the fun part—putting it all together. If using an image or papers under the optic lens, cut them to size and glue them in place on the copper using something like Modge Podge, which is a glue/sealer designed specifically for papers. You can coat and seal the papers first with Modge Podge if you want to—I just glued the paper in place for the Kahlo design (printed the text off of an image of an actual letter she wrote that I downloaded from the mighty InterWebs). I also glued a butterfly wing fragment on top of the letter, then topped it with the lens. Once you have all the goodies in place under the lens, begin adding your embellishments to hold it in place using micro screws. The handle of the optic lens usually comes with a hole in it already.  I began here, adding a brass rose with a silver bead. I inserted the screw front to back through the design, attaching the nut on the back just finger tight. I wait until all embellishments and screws are in place before a final super-tightening in case I have to tweak or remove/add something. Layers are fun here. I especially like the enamel copper discs I used on top, courtesy of MaryAnn Carroll, layered with the brass flowers. To attach a bail, you can create one from a length of rolled copper, aluminum or silver (with a hole punched or drilled on the end), or use a pre-made bail or attachment that works in size and design. The silver hoop you see on the Kahlo pendant is actually the hoop from a toggle clasp set. A super easy bail is simply to take a length of 12 or 14 gauge copper, hammer and flare the ends, drill holes in each end, double it over on itself and thread on the micro screw. If you don’t want a centered bail, drill or punch two holes on the top “corners” of the pendant as attach points for jump rings and chain. Whatever you like!

For this pendant I am going for a bird motif. Will drill
a hole in each wing tip to attach jump rings, and will
drill a hole through the center to attach to the copper back
plate, overlapping the lens for stability.
Once everything is in place and to your liking, tighten the nuts on the micro screws as tight as you can. Be careful tightening the screws that hold elements directly on the glass of the lens, you don’t want to crack it! Just make sure the lens is held firmly in place, cannot move side to side, etc.  Then, snip the excess screw material from the back, file the end of the screw and add a dab of strong metal glue to hold the nut in place. I used Gorilla Glue, and also flared the end of the screw whenever possible by placing the pendant face down on a bench block and hammering the end of the screw flush with the nut. This may or may not work depending on your embellishments and placement. You don’t want to hammer anywhere near the glass of the lens!!!

You can add more details outside of the attachment points to continue the story of your design. For Frida, I added two silver skulls below the lens to represent Frida and Diego, together for all eternity. I also drilled a hole below the lens handle rose attachment so I could suspend an anatomical heart charm (real love) and a sterling silver cast hummingbird skull (hummingbirds represent spirits and love).


I’ve made several optic lens designs over the years. This one is a favorite, along with a pendant I made using a photograph of my Grandfather holding my Dad when he was a baby. These mean a lot to me, they both tell a true story that has meaning and beauty to me.

My Grandfather holding my father.

Some of the other designs I have made are representations of a short story or poem I wrote, or imaginings inspired by the tin types I also collect. There are so many designs you can create here!!! I love jewelry that tells a story, and optic lenses are perfect for focusing attention (see what I did there???) on an amazing bit of memory, real or imagined.


So, do you have a story to tell? Create it in a jewelry design and send us a picture! We’d love to share with you….Now, GO MAKE SOMETHING AMAZING!

Tuesday, January 27, 2015

Tutorial Tuesday-ish! By Karen McGovern

This post was suppose to be on TUESDAY.  Sorry....

*NOTE:  Any tutorial I post is just MY TAKE ON HOW TO DO SOMETHING.  I do not use words like “right” or “wrong” when describing how I work.  This is just what I have figured out and there may be folks out there that do things differently.  GOOD FOR YOU!  Go with what works for you!  Also, be an adult and follow basic safety rules.  Wear protective eye gear when needed.  Work with fire and fumes in a well-ventilated area.  Don’t burn yourself…BE SMART!!  Also, all supplies used in this tutorial are easily found online at Etsy, Amazon and RioGrande among others.*

My first tutorial of 2015 comes by request from MaryAnn Carroll, who said she wanted to know more about how I make my bezels.  I figured I’d give that a go, since the style I most prefer came about due to a complete accident on my part.

I like to make bezels that feature a combo bezel/prong setting with dots of silver as accent.  My style is rustic, and the combination of bezel wire with rustic prongs appeals to me.  The combo came to me as a sort of ”salvage” effort when I was first learning how to solder bezel wire.  I’ll try to explain…

For this pendant I chose a nice, long slice of jasper.  I plan to bezel set it and run prongs along one side.  Here we go….

I use Easy Solder paste solder for just about everything (cooltools.us).  I prefer paste solder because it acts as a sort of glue, sticking things together nicely, and it has flux in the paste, so you get to skip that step!  I love anything that saves time.  I use a jumbo Max Flame butane torch (available everywhere.  I got mine through Amazon).  I have not graduated to anything fancier, and find that this torch suits my needs just fine.  I have had this torch for a couple years now and love it.  If you want to know the dirty truth, I have a jumbo and a regular size Max Flame.  My jumbo’s igniter stopped working a while ago, so I immediately ordered another, not realizing I had ordered a smaller version of the jumbo.  It works fine also, but the jumbo gets hotter and I need that quite often.  So, I use the smaller Max Flame to light my jumbo.  Yes, I have them both lined up at my soldering station and use one to light the other.  Whatever works, right?!?!?! Okay, now on to the bezel setting….

My dirty solder station.....

I use 24 gauge sheet for my bezel backs.  Silver, copper, brass, whatever.  Bezel wire comes in graduated widths, I have an assortment, also in a mix of metals.  When I first tried to solder bezel wire (which is very, very thin), I burned up a TON OF IT! So, practice with copper and brass before sterling—my advice to your wallet.

Cut a back piece from sheet that is larger than your cabochon, leaving room for the bezel wire, prongs and any accent metal you may want.  I’m using sterling silver here for the back, but copper bezel wire for some contrast.  Wrap the bezel wire around your cabochon to size the wire.  Bezel wire is super flexible and thin, so you should be able to shape it around the stone easily.  Allow a bit of overlap for filing and perfecting the ends so that they meet flush (using flat files), and conform snugly around the stone.  I use my good metal shears to cut bezel wire, but you can use extra sharp scissors as well.  Just be careful and try to cut as straight as you can.  You want the ends to meet FLUSH.  Manipulate the bezel wire to fit snug around the stone and still hold its shape on its own.  This is a bit tricky, but you can do it. Make sure the stone can be seated easily within the shape, but still meet the edges of the stone.  Once you like how the ends meet, ad a dab of Easy Solder paste to the seam, place on a solder block and heat with the torch.  Heat evenly and move the flame around the bezel CONTINUOUSLY.  Don’t let your flame remain in one spot for any length of time—too much heat in one spot will MELT THE BEZEL WIRE.  Paste solder will flame up—that is okay, it’s just the binder burning off.  Soon you will see the solder melt and flow up the seam.  Quench immediately and check the seam to make sure the solder flowed correctly and the seam is sealed strong.  (Note:  Silver solder will leave a thin line in the seam of a copper bezel.  I don’t mind this and usually make sure this is where I add a prong or accent metal.)

Now, reshape the bezel wire around your stone and make sure the sides of the bezel are straight and that the entire bezel will sit flat on the back plate with no spaces between the bezel and the back.  The wire is soft and easily manipulated.  Take your time and make sure the form is true and the stone fits well in the bezel.

CAREFULLY apply tiny dabs of Easy Solder paste to the bottom of the bezel wire (roughly 2 mm dab close together all along the bottom).  Remember how soft the bezel wire is.  You need a very light touch here or you will change the shape of the wire and your stone won’t sit well. Be patient, you may have to start over a couple times until you get the “feel” for this. Place the bezel wire on the back plate, press lightly but firmly flush to the back plate.  The solder paste will hold the wire nicely in place. Set on a solder block and begin gently heating with your torch.  HEAT THE ENTIRE PIECE, CONSTANTLY MOVING THE TORCH AROUND.  If you concentrate the heat on one spot you will MELT THE BEZEL WIRE INTO GOO.  So, constant movement!  The solder paste will flame up again, that is the binder burning away.  Keep the torch flame moving, and heat till the solder flows.  Again, patience here!!!  Once the back plate begins to glow a bit red, the solder should flow nicely.  Quench in water, dry and look to see if any spots of solder missed or didn’t flow.  If needed add more solder paste and re-heat in the torch.  Quench and pickle if you want, or give it a basic clean with sanding sponges.

Next, use a bit of dental floss across the back of your stone and set it in the bezel (the dental floss allows you to lift the stone out in case it is in there tightly).  Using a Sharpie, mark where you want the prongs to be.  For this design I wanted six prongs.  Remove the stone and drill holes where you marked.  I usually use 14 or 16 gauge wire for the prongs—make your holes as close to the same size as you can.  You want the prongs to fit snugly in the holes.  Put the stone back in, then decide how long you want your prongs to be.  If using copper or sterling wire, you can ball the end in your torch if you want that look.  I made sterling prongs and balled the wires. Cut the prongs a tiny bit longer than you think you need. With your bezel setting on a soft solder block, push the prongs in place through the holes in the back plate and into the solder block.  Tap with a hammer to even the heights if you want. When you are happy, remove the stone and add a dab of solder paste to the base of each prong where it is inserted into the back plate.  At the same time, you can place any other accent balls or metals around the bezel.  Yes, many folks make their own silver balls by torching scraps of silver on a charcoal block until they form balls.  I use sterling silver casting grain because I am lazy and want to have this on hand all the time. (I do plan to make my own balls soon, because I like the organic look of pits and rough spots you get when you make your own.  But for convenience, you can’t beat casting grain, and it comes in silver, gold, copper and brass!) Add a dab of solder paste where you want the accent, place the balls, and torch the entire thing till all pieces (balls and prongs) are soldered in place.  Again, constant movement of the torch is key.  If you over-heat your prongs may wilt….nobody wants wilted prongs.

When it’s all in place and soldered secure, quench, clip any excess prong material from the back, and sand the back smooth.  Pickle, use shears to cut the bezel form to your liking, and finish by sanding the edges.  Use needle files to get in and around balls and prongs, finish as you see fit! I added some wonky lengths of wire to the top for a bail and accent.   

Pickle the setting and clean thoroughly.  I use a brass brush on my flex shaft and polish till it’s bright.  Then it went into a liver of sulfur bath.  After that, I set the stone (standard bezel pusher and burnisher), gently bent the prongs over (tapped them in place with a rivet hammer) then polished and finished the setting.  I textured the side with the prongs for added interest.  Once I was satisfied with the look I polished with a polishing cloth.

Viola! Here is a crappy slideshow of the entire process.  If you have questions, please contact me here!


When I started this post I said I discovered this setting design by accident.  Well, I was learning to solder bezels and failing miserably.  I burned a portion of bezel wire away on a ring and instead of trashing it I thought, “I’m going to put a prong there instead!”  And it worked.  Filed the bezel edges, drilled a hole, set the prong as above, and finished the design.  I liked the look so much I continued experimenting.  And yes, I still occasionally burn my bezels and now add prongs or metal balls to cover the “mistake”.    

Most recently I made the ring you see here using gorgeous labradorite and ocean jasper.  I wrecked the bezel wire around the labradorite.  I tried to cover by placing the ocean jasper cab right next to the “mistake” and it sort of worked.  BUT, by the time I set and finished the ring, I still didn’t like the look.  So, I drilled a hole between the stones and cold connected a tiny enamel copper cup and sterling silver cast twig in place.  I used a brass micro screw (that I topped with sterling silver in the torch).  I hammered one end of the twig flat, drilled a hole, and used the micro screw to hold It all in place.  It worked because the ring is a large statement piece and I had enough room on the back to accommodate the screw and nut, which I hammered flush to set.

The beast of a ring before and after I set the enamel and sterling twig.
You can see in the "before" pic how crappy the bezel is around the labradorite!

Moral of the story—there are no mistakes, only opportunities!  Don’t throw away a design you think you have “ruined”.  Take a minute or three, look at it again, and maybe you can salvage it through the placement of elements you hadn’t originally considered.  Combine hot and cold connections.  Add prongs, accent metals or another layer of “something”.  Sometimes our disasters lead to the best design ideas yet!!

Friday, December 28, 2012

The Love of Art Jewelry...... Featuring Karen McGovern

MaryAnn Carroll
I'm not sure when I was first asked to create discs for fellow artist Karen McGovern. Quite some time ago, she wrote to me and asked if I would make some discs similar to others I have sold, but with the holes in the center. If you recall in a recent post, I was having issues with punching center holes. I had drilled the first order, but had some problems with that method. I did solve that problem and opted for the Neiko hole punch. So far..... so good. Thank-you to everyone who helped me make that decision.

Back to Karen..... She is definitely a one-of-a-kind talent. She took the discs (similar to those pictured here) and created some incredible art jewelry.


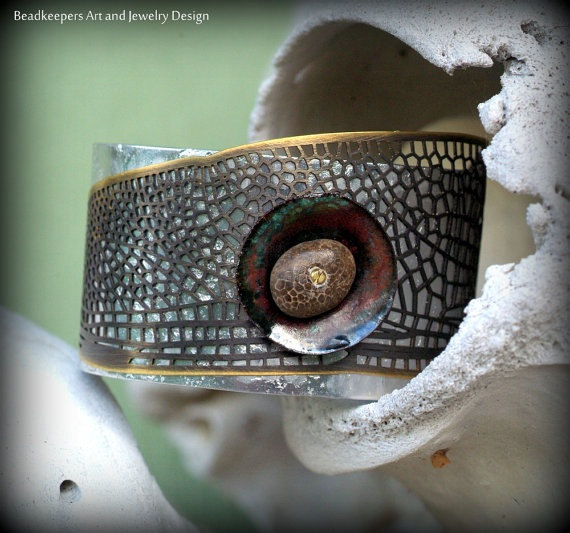
.....starting with this very cool cuff.....


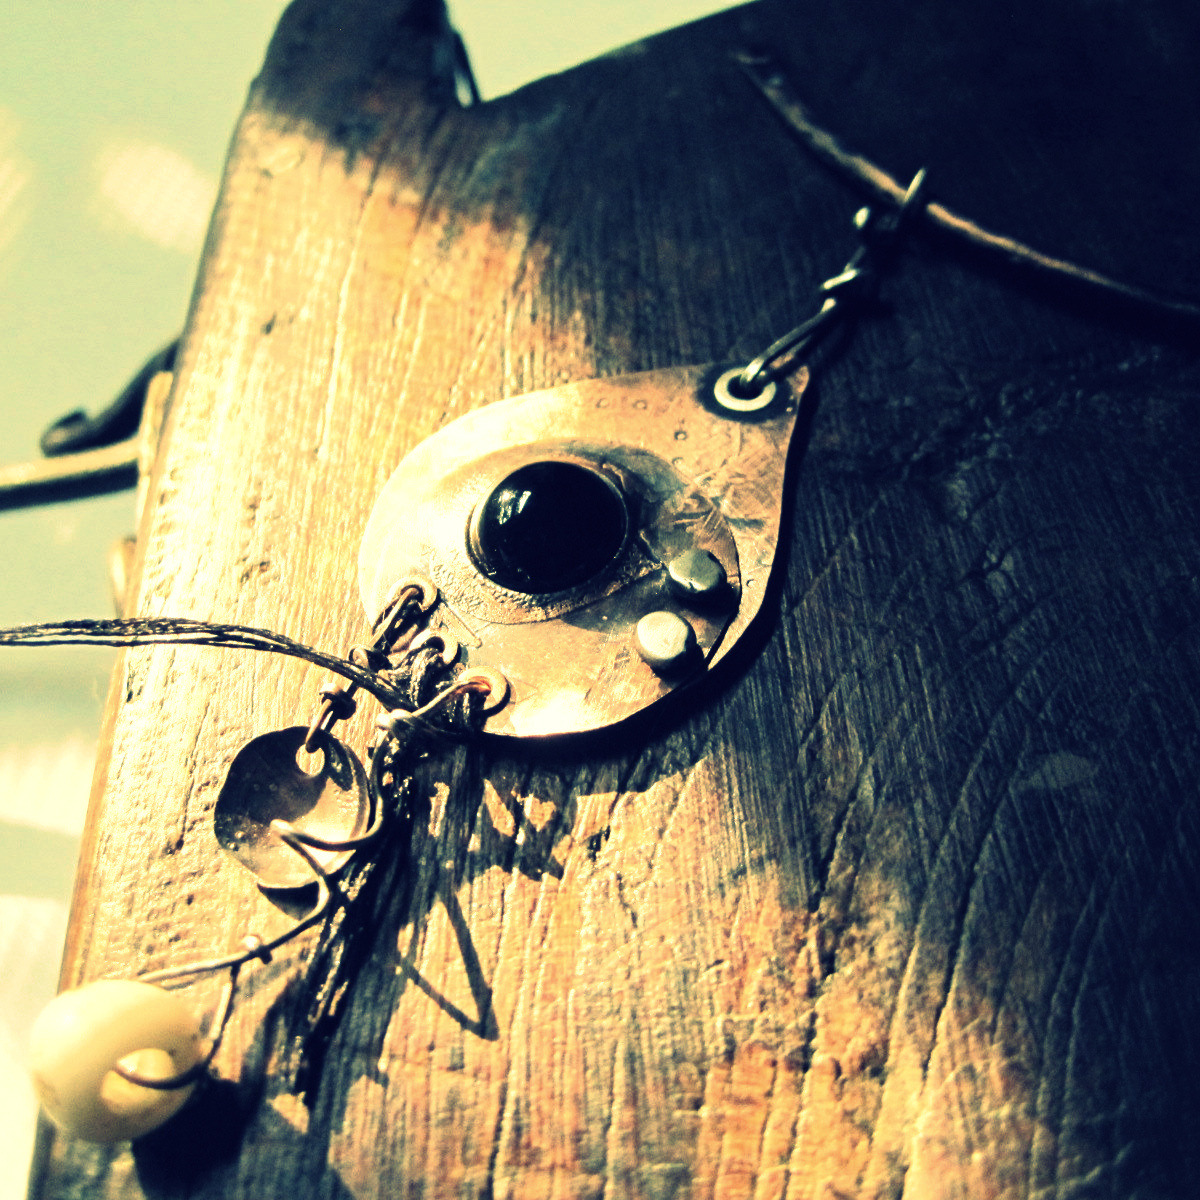
She has a recent blog post with the unique pendant pictured below.....


complimented with.... the beauty of rings......


Her imagination is unstoppable.....


Karen recently taught a cold connecting class in Traverse City, MI. These beauties are the results from that class.


And... lastly.....as they say...... 

"A picture is worth a thousand words!"


Before finishing up, I would like to share a few words that I took from Karen's Etsy shop regarding her other passion:

"Every day is Earth Day at Beadkeepers. The art and jewelry you see here is inspired by nature and created to raise funds for wildlife conservation through the Rare Species Conservatory Foundation.  Life is too short for boring jewelry!"

Check out Karen online:

http://beadkeepers.etsy.com

http://www.beadkeepers.com

http://www.beadkeepers.blogspot.com

http://www.rarespecies.org

As always, thank-you for supporting those who create handmade with handmade,

MaryAnn

Saturday, September 10, 2011

challenges

mary jane dodd


'opportunities to find deeper powers within ourselves
come when life seems most challenging.'
~ joseph campbell

big or small, imposed upon us or self-imposed... all hold lessons... 

i was feeling the need to make a cold connection bezel - i love izzy's work... and i adore the soft curves that enfold a stone when you set them this way... my neighbor happened to stop by the other day with some bags of cabs - she thought i might like to use them... was she ever right - i had been meaning to order some ... and am so grateful for the gift... 

did you know that a 1/16" drill bit fits 16 gauge wire?
and that a 5/64" bit can accommodate crimps to use as eyelets?
it's true!


and if you haven't seen it yet, barbara lewis has a really interesting solderless bezel design in her new book 'torch fired enamel jewelry'...