Carol Dekle-Foss
Yesterday, Staci Louise-Smith did a wonderful and heart-felt post about finding your creative voice and the importance of having cohesiveness in your work. She also lists some very talented jewelry and bead artists who consistently nail the cohesive look. If you haven't read it yet, be sure to check it out here, its a very positive and uplifting read!
As for my creative cohesiveness, well, it's a work in progress! I love to learn different techniques and while learning that technique I try and put my 'spin' on it. It's been so much fun playing with all the different mediums, and along the way I've discovered what I like and what isn't for me.
Right now, my latest love is with ceramic clay. Although, it was by chance how a kiln came into our home. Here's what happened.
ME: What, wait, WHAT?!
HUSBAND: Yeah, I never told you but I made a few things in high school.
ME: Like what???
HUSBAND: An ashtray and a vase, but the vase broke. Yeah, let's get a kiln. I'd like to help you make beads and other things.
ME: Ummm. ok. (an hour later) Here's a nice new one on Craig's list, let's check it tomorrow.
And, we bought the kiln.
I kid you not, that is how it went down in my house. My manly, truck driving, couch potato, adorable husband wants to play with clay. I'm really excited about this turn of events. I've been trying to get him more involved in the studio so we can do things together, so this is perfect! I will be sure to keep you posted on my husbands creative journey! Unless there is a John Wayne marathon or some zombie movie on, I think he wants to start this weekend.
Ok, when making my very first pendants, I felt limited in what shapes I could create. I know there are places where you can buy cookie and clay cutters, but what's the fun in that?? I wanted the creative freedom to cut out whatever shapes I wanted, so I set to work on making my own cutters. These are the first three, and I'm sure tons more will follow. It's easy to get the hang of, and fun to do. Try it out for yourself!
Cookie Cutter Tutorial
Shapes. I cut mine out from a Silhouette Cutter, but you could also draw or print out your desired shape.
Copper sheet, I used 28g. I like the way copper work hardens and holds it shape. Plus over time it will develop that lovely patina.
File
Thread
Metal scoring tool
Needle nose pliers
Round nose pliers
Glue, I used Epoxy 330
Sharpie pen
Tiny clamps
Ruler
Metal shears
Sandpaper
Step One
Measure with string the length of copper that you will need, with at least 1/2" extra to be able to wrap around and glue.
Step Two
Score the length of the copper. The depth is up to you, depending on your designs and how deep you will need to cut out your clay. I made mine a little over 1/4" deep.
Now cut our your metal. Try not to stop too many times when you cut, because you will create burs that you will have to file later. I used my throatless sheer for this step, but you can also use metal shears.
Step Three
Oops, I forgot to take a pic of me filing the edges. You want to file the edges so there are no burs or sharp edges. Now run your fingers over the metal really fast back and forth. This helps straighten it and makes the metal soft and ready to be formed.
Step Four
Now start forming the metal using the shape as a guide. I used my round nose pliers for the round corners and for the sharp corners, my needle nose pliers. Most of the time though, I just used my fingers to form the metal.
I made plenty of mistakes, especially on this more detailed cutter. I just straightened with the needle nose pliers and started over.
Step Five
At some point you want to sand the ends where the metal will be glued together. This is so there is some bite for the glue to hold.
Mark with sharpie and then cut the end of the metal.
Press both ends tightly together with needle nose pliers to make sure there will be a good bond.
Step Six
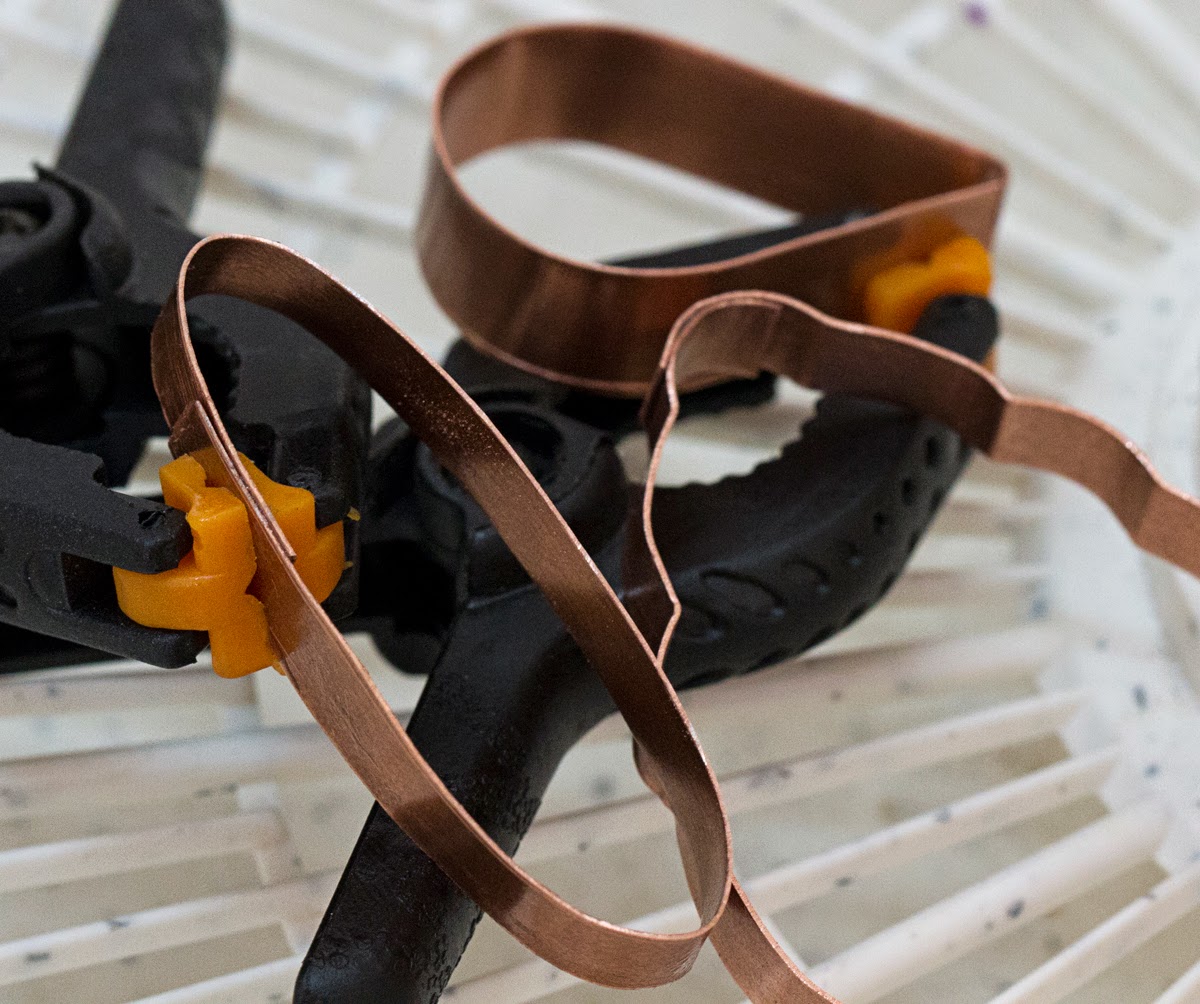
Now glue cutter together and clamp tight. I couldn't wait for mine to dry so I left it in a food dehydrator for about 15 minutes.
Voila! Your very own, unique one of a kind cutters.
I am very happy with how these turned out, and look forward to creating more. I may even make some very special ones for holiday cookies!
Thank you for reading, and I hope this tutorial helps you on your creative journey!


No comments:
Post a Comment