Showing posts with label Sherri Stokey. Show all posts

Friday, October 16, 2015

Sugar Skulls - It's the Season!

by Sherri Stokey

Some people are offended by skull art and put off by what they consider macabre, but in many cultures, skulls are viewed in quite a different light.  Revered.  Celebrated!  One of my very favorite traditions is the sugar skull, or Calavera, used to celebrate the Day of the Dead.


Mexico's Day of the Dead, or Dia de los Muertos, centers around a belief that the gates of heaven open for a short time and allow the spirits of lost children and loved ones to reunite with their families for a day.  How beautiful is that! Although traditions vary from area to area, the holiday is generally not a sad, sober one; it's filled with love and color, food and flowers, and is a time for friends and family to gather and remember loved ones who have died.  It is focused not on death but on remembering life.  If you're interested in learning more about it, you can find much more information and lots of great photos here.  


I just returned from a trip to Cancun (wonderful!!!) where I spent a disproportionate amount of time ferreting out skull/skeleton art.  I found full size Catrinas:


Little bitty pets:


Even a couple at a table next to us in a restaurant:


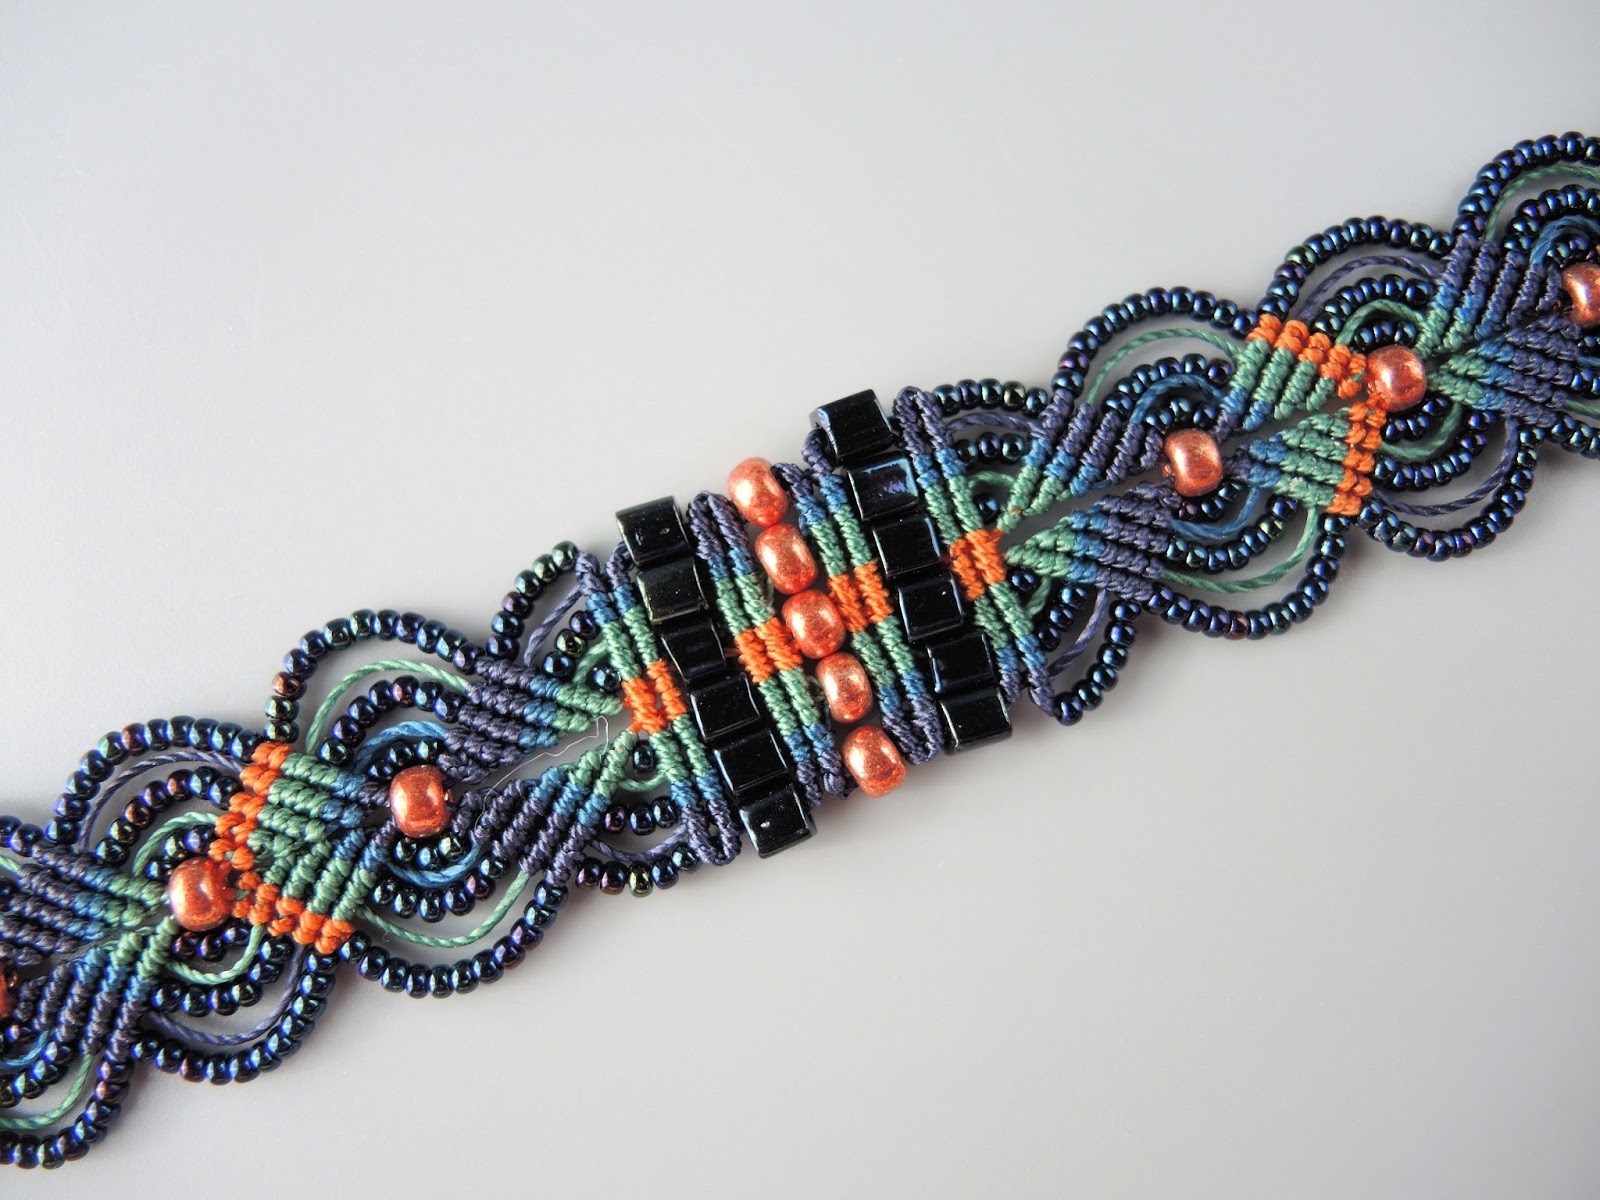
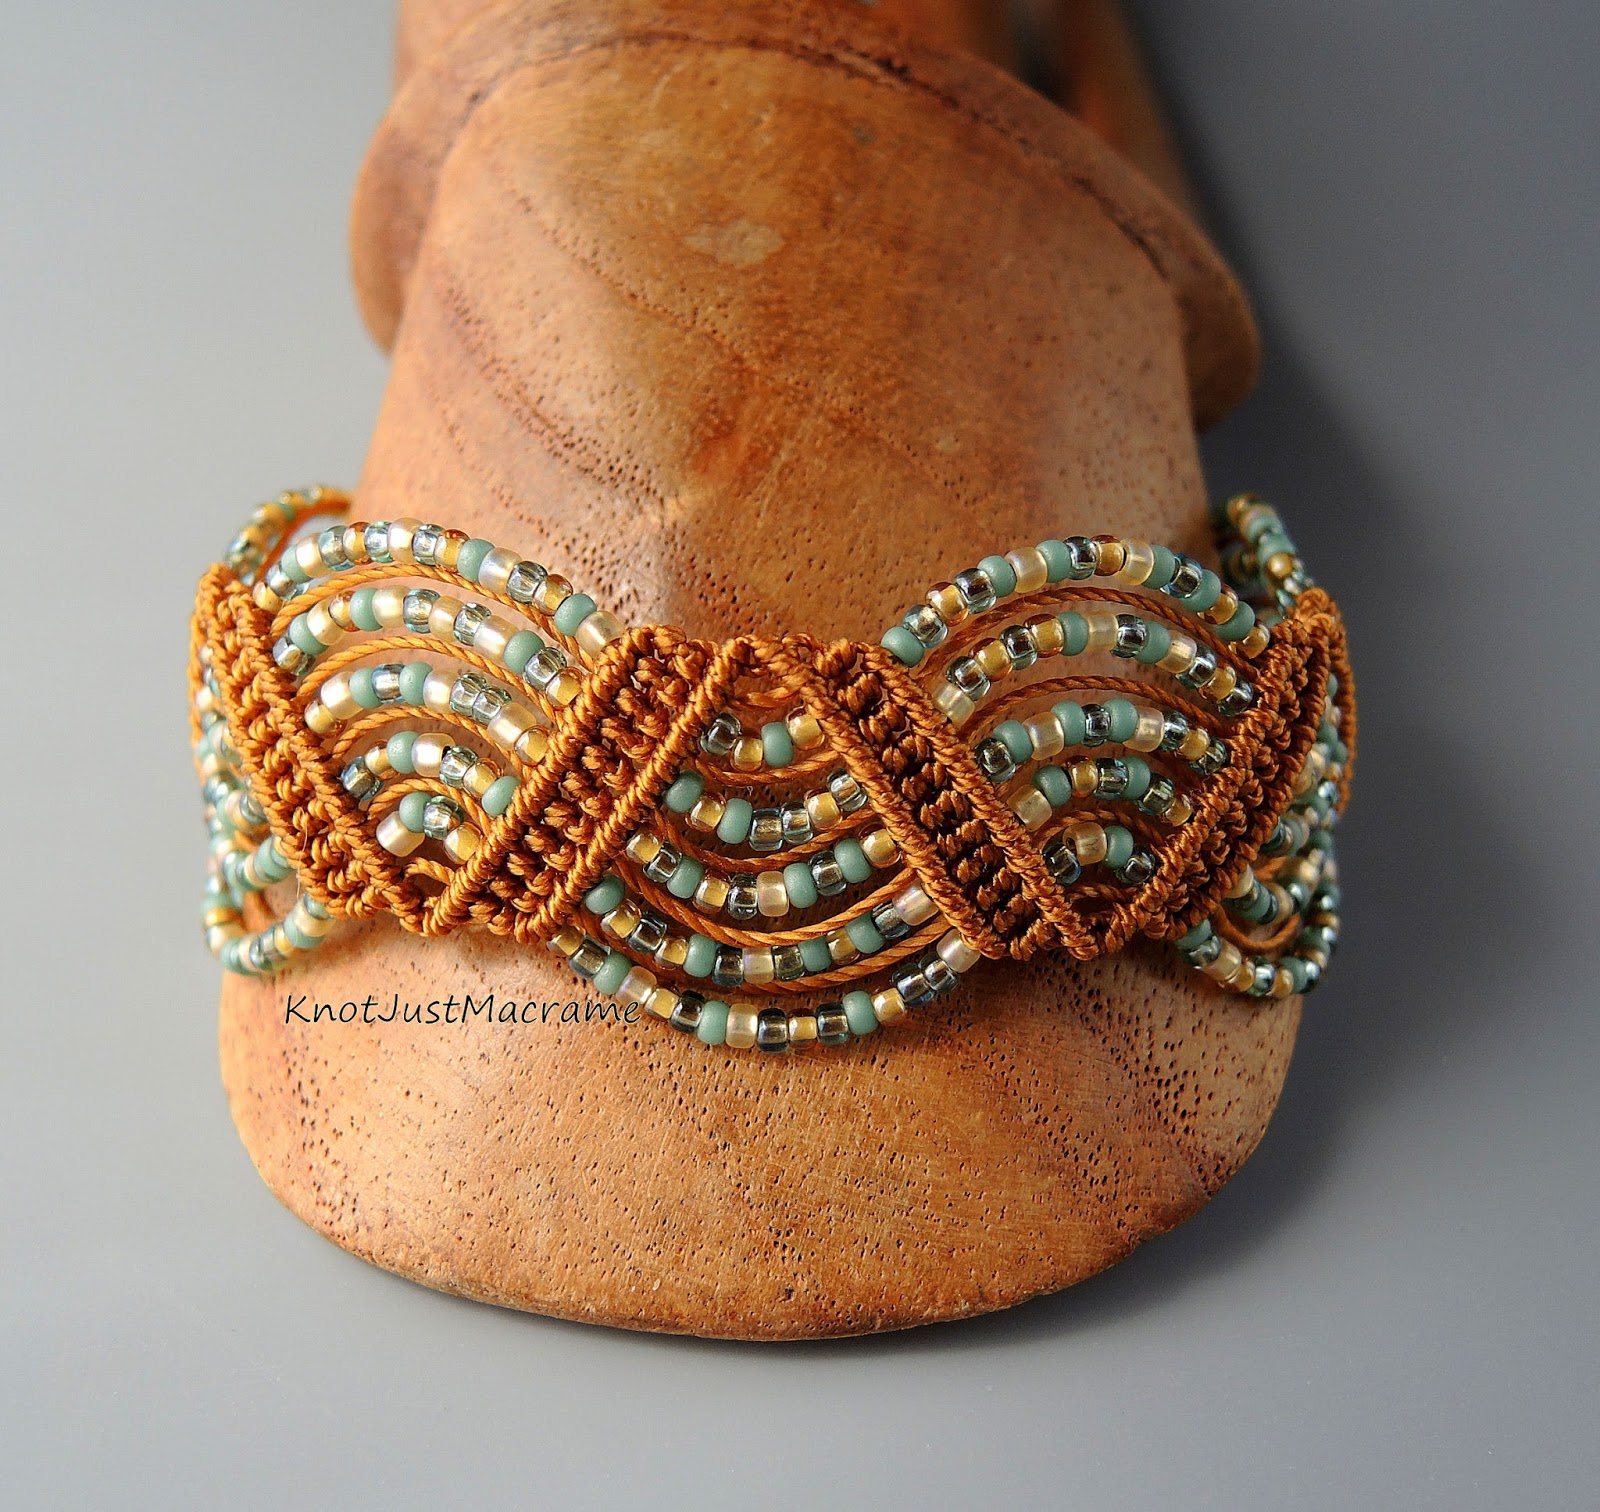
Several of us here at Love My Art Jewelry have been inspired by sugar skulls lately.  I've been making some micro macrame pieces:


Staci has been making some awesome pendants and beads:


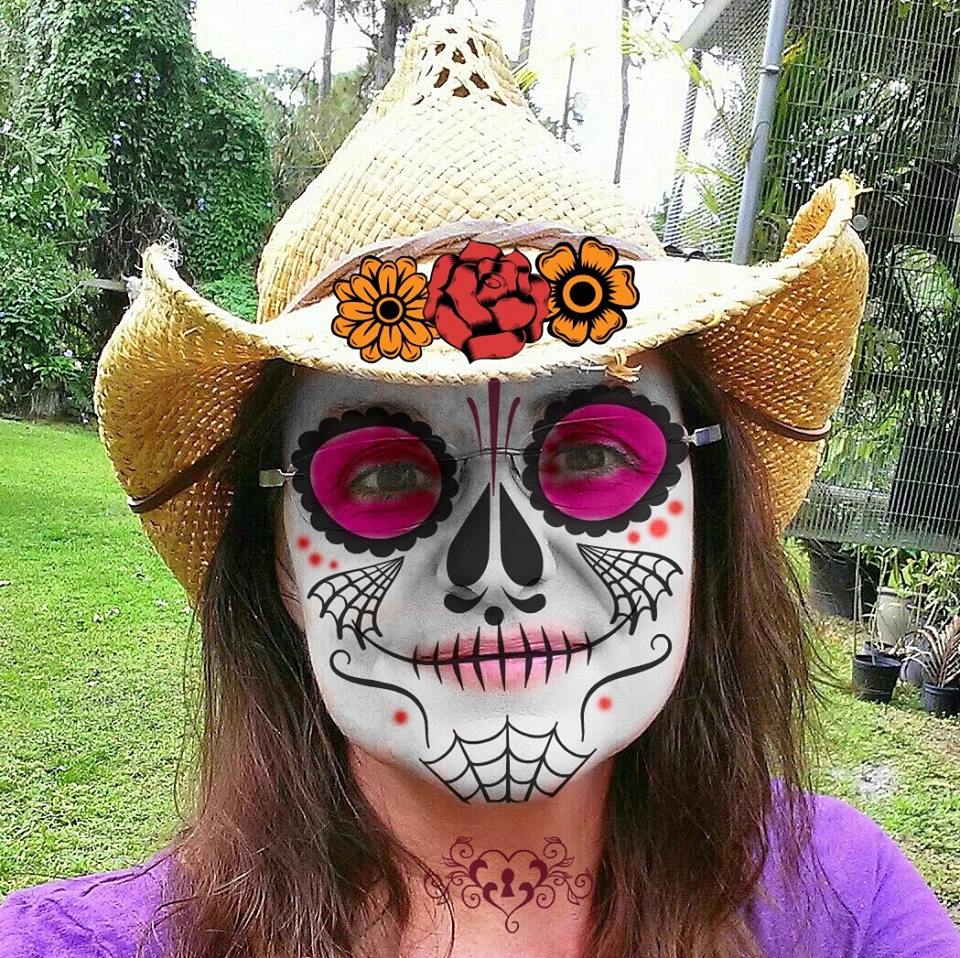
Heck, Karen decorated herself!

Are you inspired?

Friday, October 2, 2015

Setting up Shop at Handmade at Amazon?

by Sherri Stokey

If you sell handmade products online, chances are you've heard of the new Handmade at Amazon soon to be launched by the folks at Amazon to offer handcrafted products to their millions of customers worldwide.  As we speak, an untold number of artisans have already been invited to set up shop and yes, folks, yours truly is one of them.  I’m not sure entirely sure why I’m putting myself through this, but it does seem like an exciting opportunity to get in on the ground floor.  I manage to muddle through with my Etsy shop and my blog and a little social media.  How hard can this be?  Right?

Well, let me tell you… I don’t want to scare anyone off by any means, but this has not been easy for me.  I haven’t felt this inadequate for a long time - and that’s saying something because I often feel inadequate.  I couldn’t even find my way back to my shop again after closing my browser.  My only consolation at this point comes from knowing there are many other people experiencing the same thing.  Hint #1, if you’re trying to find your shop (the way it looks to buyers), try Amazon.com/handmade/yourshopname (Hint #2: you’ll want to substitute your own shop name there where it says yourshopname).  If you’re looking for the Seller Central dashboard part, after you log in, go to Your Account and on the right hand side there’s a spot for “Your Other Accounts” where Your Seller Account is one of the options.  I felt about ten times better just being able to navigate to my shop (stop laughing).


Once you locate your shop, you need to set up your Artisan Profile.  Sounds easy enough, right?  Not so fast there, Skippy.  For the store “cover image” they suggest that you use a photo of your work space.  That’s all fine and dandy if you have a photogenic studio space.  If your “work space” consists of a couch and end table and your “studio space” is the furnace closet (are you laughing at me again?), it’s not so glamorous.  I ended up cobbling together some photos into a collage banner (Picmonkey or CollageItare good for this) which will just have to suffice.  It's a pretty big space to fill, so keep in mind if you use a photo of yourself, your nostrils might look huge (speaking from experience here).  Bonus, though, you can link up to five of the products in your store to your banner.  If something in your banner, I mean “cover image”, catches someone’s eye, they can click it to be taken directly to that product to purchase.  Points to Amazon for that one.   No time to rest, though, because they allow another three photos in this section and according to all the Smart People, you need to put something in there.  I’m putting that one on the back burner for now because the Little Dog won’t hold still for a portrait and she's the only other thing I can think of to photograph at the moment.


 After all that (and a glass of wine or two, because let’s face it, this is work), there’s still the bio writing to be done.  You know the “why everyone should want to buy from me” space?  Amazon calls it “How are your products made?” but I’m sure they want more than “I tied string into knots” in there.  There are other boxes to be worded up, too, like “Inspiration” and “About You”.  I’m a grandmother from the middle of nowhere Nebraska.  The “about me” section is going to be about as dull as… well, you get my point.  Words, people.  You’re going to need to spend some quality time with your thesaurus or get someone to write it for you.  I glossed over mine and stuck something in there just to get past this step.  I’ll go back later and refine it (famous last words).  Oh, did I mention?  When you make changes to your profile, it takes 15 minutes to show up.  Or more.  Like up to 2-3 hours more.  If you’re a fusser like me and make a hundred little changes, you have to wait quite a while in between to see how the changes will actually look to customers (which gives you time for more wine). 


If you’re still awake/alert/sober and haven’t reached information overload or achieved a total frustration meltdown, you’re now to the part where you can actually list an item to sell.  Yay!!  OMG, hold on… they want your product photos to be on a neutral background without props and without watermarks or logos or whatnot.  WHAT!?  Who DOES that?  Actually, for Etsy selling, we should have been doing this all along.  In my defense, I tried that years ago and my photos were crummy.  So then I staged them a little bit and added a backdrop and “the hand” and hit my stride for a little while.  Not that my photos were spectacular, mind you, but they were apparently good enough for enterprising folks to nab them and pretty soon I started seeing my pictures plastered all over foreign web sites (pictures of jewelry, people – get your minds out of the gutter).  After that I started putting my shop name on all my photos.  Turns out Etsy doesn’t recommend that.  In fact, they say “watermarks make photos unsuitable for features within Etsy marketing materials and offsite advertising programs like Google Product Listing Ads”.  


Most of my photos just had to be retaken.  Above is an example of before (with a prop and watermark) and after.  I tried getting the background and/or props and/or watermark out of the photos, but that required even more work doing the editing than retaking the photos.  I have to say, the only thing I like better than learning a new system and writing about myself is editing photos (can you sense the sarcasm there?).  I think this is about the time that I started whimpering.

I’ll just skip the part for now about photography tips, because despite a lot of trial and error, I still don’t know what I’m doing.  I did just discover Fotofuze (hello Beautiful, where have you been all my life?) which will help you clean up your Etsy photos pretty painlessly if you have a fairly neutral background to begin with.  I will also admit the nice white background and lack of props has given my shop a whole new, fresh feel.  The photos below are an example of what the Fotofuze tool can do in just a few seconds.  The facelift was probably long overdue.


Is anyone still with me?  Kudos to you for sticking with me this long!  You realize, don’t you, that we haven’t listed a single item yet!  Not one.  *sigh*  Let me fast forward a little bit for you – listing requires about 3-4 different tabs, with numerous fields for entry, most of which don’t apply to everyone (read: me.  Because I only care about the ones that apply to me).  I have to scroll through a whole bunch of stone size, treatment, pearl color, etc. and try to make sure I don’t miss the two or three fields in the midst of all that that actually do apply to my stuff like color and size.   According to the Smart People, you really need to fill in as many of these fields as you can if they apply.  Those are the fields people can use to narrow down their product searches and if you leave it blank, you might miss out.

The titles require a totally different mindset than Etsy titles, too.  I just started putting a whole bunch of relevant terms in my product titles over there and now we're going back to square one.  Search terms are totally different and instead of using short phrases like on Etsy, you don’t need to repeat words.  So on Etsy I might enter “macramé bracelet” and  “macramé jewelry” but for Amazon I just need macramé, bracelet and jewelry.  (Without commas, by the way.)   So, all new keywords and no pressure, folks.  Only mostof the time will Amazon users perform a search before purchasing.  

I’m not giving up yet, though.  I am bound and determined that Amazon customers are going to see my micro macramé jewelry and be wowed by it.  If it kills me.

If you’re going to jump in with me, here’s the short list of advice I can offer (and keep in mind I am not an expert in any way, shape or form):
  1. Find your shop (see Hint #1 above) and bookmark it and your Seller Central page.
  2. Put some thought into your cover photo and artist info.  Get a friend to help you if you aren’t good at talking (or writing) about yourself. 
  3. Find a support group.  Join a group on Facebook or bring up the conversation in a group to which you already belong.  You’ll feel better just knowing you’re not alone in your frustration and you might just find someone who can offer assistance or critiques.
  4. Work on your photos.  I know this has been said over and over and is true no matter what online venue you’re using, but it couldn’t be truer.  When your customers don’t have the luxury of picking up your piece to look at it, you need to have really good pictures of all different angles.  Give them a way to visualize the size (note:  props are allowed in alternate item photos, just not the primary photo).  Be sure your colors are good.
  5. There is no “copy” function for listing yet.  Using your browser’s “back” button will save a few of the things for you, but none of the ones I wanted it to save (just my experience).  My solution was to start a word document with some of the things I used over and over so I could copy and paste. 
That’s about all I can offer you at this point.  I will be doing more research on keywords/search terms and I’ll be sure to share that with you when (if) I figure something out.  If you need me before then, you can probably find me hunched over my keyboard  trying to list as many products as I can before Handmade at Amazon launches - if any of you have any hints and tips for this process, we would love to hear them!

Friday, September 11, 2015

Why DO We Sell Our Art?

by Sherri Stokey
Micro macrame bracelet by Sherri Stokey.

"Why is selling your finished product important?"  This question was tossed my way recently by a student working on an economics project and it stumped me for a bit.  Why do I feel the need to sell my handmade pieces?  Why do any of us want to sell our art?  I think I speak for the majority of jewelry and jewelry component makers when I say it isn't for the money.  The reality for most of us is that a full-time minimum wage job would likely be more profitable.  What, then, could persuade us to put the results of our blood, sweat and tears out there for the world to judge (and hopefully buy)?

There are things which obviously contribute to the decision to sell.  I really love macrame and I practice my craft almost every day.  It's how I relax and I thoroughly enjoy experimenting with color and texture and pattern.  I'm curious and one thing leads to another.  Before I know it, I have three or four new pieces in the space of a week.  Even culling out the ones I deem unworthy of sale, I am still left with a steadily building inventory of micro macrame jewelry pieces - more than I can possibly wear.  Selling some pieces not only frees up space, but the resulting income allows me to purchase more beads and more colors of cord and do more experimenting.  That's a definite win-win for someone like me who wants to have all the beads and all the cord!

Practicality aside, further soul-searching revealed something that surprised me.  My answer to the student was "It gives me a feeling of "success" to think someone else thought enough of my work to purchase it."  If you take that a bit further, my reason for selling actually boils down to fulfilling an emotional need for approval.  Go figure!  

Micro macrame bracelet by Sherri Stokey of Knot Just Macrame.

I pride myself on not caring what people think of every little thing I do or say or how I look.  It's taken me years to get to the point in my life where I can say that with some degree of honesty.  I won't claim to be 100% there, but I'm certainly closer to it than I was when I was younger.  The trite saying "with age comes wisdom" isn't far off the mark.  Maybe it's just a matter of having seen more and having been through more that lets you start to prioritize better and figure out what really matters in the overall scheme of things.

Why, then, this need for validation when it comes to my art?  Why is there such an emotional connection to selling my "finished product"?  I did a little research and I found this: on a deep emotional level, feeling approval makes us feel more secure with who we are.  Hmm.  This is starting to make some sense to me.  I have a real problem with confidence.  I don't call what I do "art" (unless I go back and correct it for the purposes of this article) and I don't think of myself as an "artist".  I can apply those labels to others, but not myself.  But I can recognize the beauty of the pieces I make and take credit for the creation. So while I admit that for now I am still seeking validation, I will continue to work toward my goal of feeling good about who I am apart from my craft. And when I do reach that point, I will continue to sell just to share my joy with the world!

What about  you?  Care to share why you decided to sell (or not to sell) your art?

Colors of Autumn micro macrame bracelets by Sherri Stokey.


Friday, September 4, 2015

Micro Macrame Successes

by Sherri Stokey

Susan hadn't ever tried micro macrame before, but she tried the KnotAlong tutorial I shared in this post a couple weeks ago and shared her piece with us.  Didn't she do a great job on her first try?  

Donna's done quite a lot of micro macrame, so she decided to add a little twist on her pendant by using multiple colors:


This one was from Hilary:


And Susan:


I learned a couple of things from the feedback and comments of folks who participated, too.  Valerie shared how she dips her cords in Fray Check - did you know you could pop the top out and then you have the whole bottle opening to dip in?  Who knew!!   I can't believe I've been fighting that all these years and it's as simple as popping that piece out when you want.  It goes right back in, too, so it's back to the little applicator tip for use in coating knots when ending projects.  Thanks for sharing, Valerie!!

Georgette also shared that Super New Glue will darken at least some cords.  I've used the hypo cement for years and haven't had that issue, so I think I'll continue recommending it.  Aren't Georgette's colors gorgeous?


Many thanks to those of you who took time to share your successes with the rest of us.  If you haven't tried micro macrame knotting yet, I'm here to tell you that you can do it and the KnotAlong video will show you how, step by step.

If you did try it and you're ready for more projects, I have tutorials in my Etsy shop and a special coupon code just for you.  Use code "TENOFF" to save 10% in my shop.  The code is good on finished jewelry pieces and kits as well as the tutorials and is valid through 9/8/15.  Have fun!!

Friday, August 21, 2015

The World's First KnotAlong - A Micro Macrame Tutorial

by Sherri Stokey
Micro macrame pendant by Knot Just Macrame.

Today's the day, folks!  A couple of weeks ago, I promised I would teach you how to do micro macrame and I'm here to do just that.  If you don't know what I'm talking about, you obviously missed this post, but it's okay!  You can still join in whenever you are ready.  If you did catch that post, you should have the supplies and materials all ready to go for this project.

Here's how it works.  I've prepared a video lesson to walk you through the steps required to make the pendant shown above.  In the process of making this pendant, you'll be learning how to make larks head knots, square knots, overhand knots and double half hitches.  You'll also be learning some micro macrame basics, the terminology and some tips and tricks I've picked up after eight years of knotting.  

Since we can't all physically be in the same room to do this, I've set up a virtual room where we can meet up:  KnotAlong Event.  That's where you will be able to post photos of your work, ask questions if you get stuck and just generally commune with other people learning macrame.  

 Are you excited?  (I am!  I can't believe I'm going to try to teach macrame to a whole bunch of people all at once!)  Let's do this (oh, and don't forget you can make the video full screen if you want)!


If you're having fun with this project, do me a favor and share it with your DIY friends.  You can help me in my quest to bring macrame back!  And if you're really having fun, you can find more tutorials (.pdf format available for instant download) in my Etsy shop and more classes (which include videos) at CraftArtEdu.

To make everything a little bit more fun, I'm also doing a couple of giveaways!  I will be giving away one of my new Drunkard's Path bracelets in great colors for fall here on Love My Art Jewelry.  Enter to win the bracelet using the widget below.  I'll also be giving away a full set of micro macrame tutorials, and the sign up for that prize at KnotJustMacrame.com.

Micro macrame bracelet by Sherri Stokey of Knot Just Macrame.

Enter for a chance to win the bracelet using the widget below and I will choose a winner on August 31, 2015.  Good luck and happy knotting!!

a Rafflecopter giveaway

Friday, August 7, 2015

A Micro Macrame Primer and Upcoming KnotAlong!

by Sherri Stokey

Do you ever see a beautiful piece of handmade jewelry and get depressed?  Not because there's anything depressing about the piece, but because you think you'll never be "good" enough to make something that lovely?  Well, stop that!  This is a no-whining zone and self pity is counterproductive.  

Don't get me wrong, I've been there.  It's an easy trap to fall into, but basically you have two choices:  you can either admire the piece for its artistry and purchase it from the person who has probably spent countless hours creating it (and possibly several years learning before that) or you can take a stab at it yourself.  
 
I'm curious and I'm from a background where I want to try doing everything.  I wallpapered most every room in my house back in the 80s, learned how to give home permanents, make candles and can tomatoes just "because".  As you can probably guess, not all were wise decisions.  

 
(She's still mad at me about that one, by the way.)  Luckily, I'm now at an age where I know my limitations and instead of taking that as a personal failing, I'm getting better at appreciating the talent of others.  Even if I could make a polymer clay lotus pendant like the one from Staci Louise that I used in this necklace, I would probably never get the feeling she has in her piece. And that's okay - it means Staci is doing something right!


If you decide you do want to try something for yourself, find a good tutorial or class and then go into it with the right mindset.  Learn for the joy of learning and you will leave with a greater appreciation of the artist's process, even if you never use the technique again.  And if you do discover something new that you love, that's even better!

So, for those of you who've made it this far in the post (and hopefully the others are over shopping in my Etsy store), I'm going to give you a micro macrame primer.   I'm going to cover the tools and materials you will need to get started with micro macrame, then I'm going to give you a couple weeks to round up your "stuff".  While you're doing that, I'll be busy writing up/recording a special beginner project for us:  the world's very first KnotAlong!   I'm going to meet you back here  in two weeks (on August 21st) for your first "class".

Are you ready, kids?  I can't hear you! :)


If you want to play along with my KnotAlong (and why wouldn't you?), you have two weeks to gather up these things.  I've added some suggestions for sources* to get you started.

  • Pinning surface:  You can use cork or anything that will hold a pin.  If you want to purchase a foam board, here are some sources:   Amazon, Art Beads, Etsy, Walmart, Fusion Beads
  • Fray Check:  Fire MountainAmazonWalmart, my local Walmart carries this in the sewing aisle as do most fabric stores.
  • GS Hypo Cement:  Fire Mountain, Amazon, Walmart, Art Beads
  • Tex 400 nylon bead cord (I recommend C-lon or Superlon brand):  Bello Modo, South Pass Beads (they have Hypo Cement, too), Shipwreck Beads, Jewels in Fiber.  You will only need about 6 yards for our project, so you will have lots left on your spool for your next project.  Don't get hung up on the cord, either.  If you have some 1mm hemp on hand, it will work.  I don't recommend Rattail or other "slippery" cord.
  • Pins - straight sewing pins and/or T-pins:  can be found in fabric stores, the sewing aisle at Walmart, Michaels, Hobby Lobby
  • Scissors
  • Something to straighten cord (hair straightener, curling iron, regular iron, etc.)
  • Approximately 60 8/0 seed beads. Inexpensive craft store beads will work fine for this project.

You won't find a better time to jump into micro macrame than this.  Here's a peek at what we're going to make:


I might even sweeten the pot a little.  I'm thinking maybe a giveaway for those who participate...  So?  Who's with me?


*Sources listed are US suppliers.  Some others to try:  UK - Knotting Ways
Australia - Benjamin's CraftsOver the Rainbow, France - Perles & Co.  


Monday, July 20, 2015

Color Play

by Sherri Stokey


Have you noticed how many gorgeous pictures go scrolling by daily in your social media feeds?  Those photographs can be great color inspiration for design.  I loved the jewel tones in this one and pulled out beads and cord in aqua, lavender, orchid and slate blue, then started a design using the aqua cord and a mixture of beads.  (If you're trying this and are having difficulty pulling colors from the photos, there are some great sites online to help you with that like Kuhler and Color Palette FX.) 


Then I switched out the cord for orchid, but used all of the same beads.  It looks very different, don't you think?  


 Not only is the overall look different, but the individual beads even appear to be different colors.  That, of course, led to trying one more version with slate blue cord.


All of these pieces were inspired by that one photo and there are still many variations to be explored.  I could introduce a bit of the green into the mix or concentrate more on the pink tones.  I also see a ribbed texture and some webbing that would be fun textures to try to mimic.


Where have you been finding your inspiration lately?


Thursday, June 4, 2015

Variations on a Theme

By Sherri Stokey
Micro macrame bracelets with Mexican red snowflake jasper.

Some of my best ideas just sort of morph into being.  I know that sounds odd, but let me give you an example.  A customer asked me to feature some Mexican Red Snowflake Jasper beads in a micro macrame bracelet.  If you know me at all, you know that red is my Kryptonite.  It's just so hard for me to work into a design that feels right *insert whining here*.  But the customer is always right and the show must go on and all that stuff, so I found an image I felt might inspire me and pulled some beads and cord to match.

Red paisley color palette with seed beads and nylon bead cord.

*Shudder*  Just look at all those warm colors!  I made a bracelet using these from this pile, and it was fine.

Macrame bracelet by Sherri Stokey.

Fine, but it wasn't speaking to me.  I tried, people.  I tried to get the red to speak to me, but it was definitely giving me the silent treatment.  So I went back to the drawing board and pulled out some beads that were talking to me to act as interpreters.

Turquoise beads and cord.

It's turquoise to the rescue (okay, okay - sort of sagey green if you want to get technical about it).  I threw it into the mix and made another bracelet, and this time it sang to me!

Red jasper macrame bracelet with turquoise.

I probably never would have had the idea to create this piece from scratch.  The idea came gradually, step by step.  Evolved.

Micro macrame bracelets by Sherri Stokey.

This is a technique I use often.  I think it's because I'm curious.  I make a bracelet like this:

Micro macrame bracelet in deep blue and marigold.

Then I wonder what it would look like if I switched out the marigold for another color and before I know it, I have a coral, a chartreuse and a lilac version:

Micro macrame bracelet in deep blue and different accent colors.

I also like to use the very same pattern and the same beads, but switch up the cord colors:

Micro macrame bracelets with different cord colors.

Remember this next time you think something isn't turning out quite the way you want.  Maybe you just need to let the idea steep a bit.  Maybe if you let the ideas develop, you'll get right where you want to be!