Showing posts with label boot camp. Show all posts

Thursday, April 16, 2015

Tutorial: Silk and Fabric Necklace

by Staci Louise Smith

I have always loved fabrics and its a shame I don't sew much.  Imagine how excited I was to try adding them to my jewelry!  I had some reservations, as I know some of you may as well, and I covered some of them here.


I almost exclusively use them as the back part of a necklace.  I really tend to "go big" on the front portion of my necklaces, so I don't usually bead all the way around.  I found that fabric can keep that interest of color and texture in the design without competing with the main focal.  Also, its nice to have something light to balance the visually heavy front.  Anyhow, its simple to use silks and fabrics in your pieces, and you don't even need fancy or specialized connectors (though some do like them, so I will link to them at the end).


All you will need is your necklace focal portion
(mine used one of my uber chunky boho carved focals, Suburban Girl Studio's rustic yellow drop bead, amber, agate, picasso jasper)

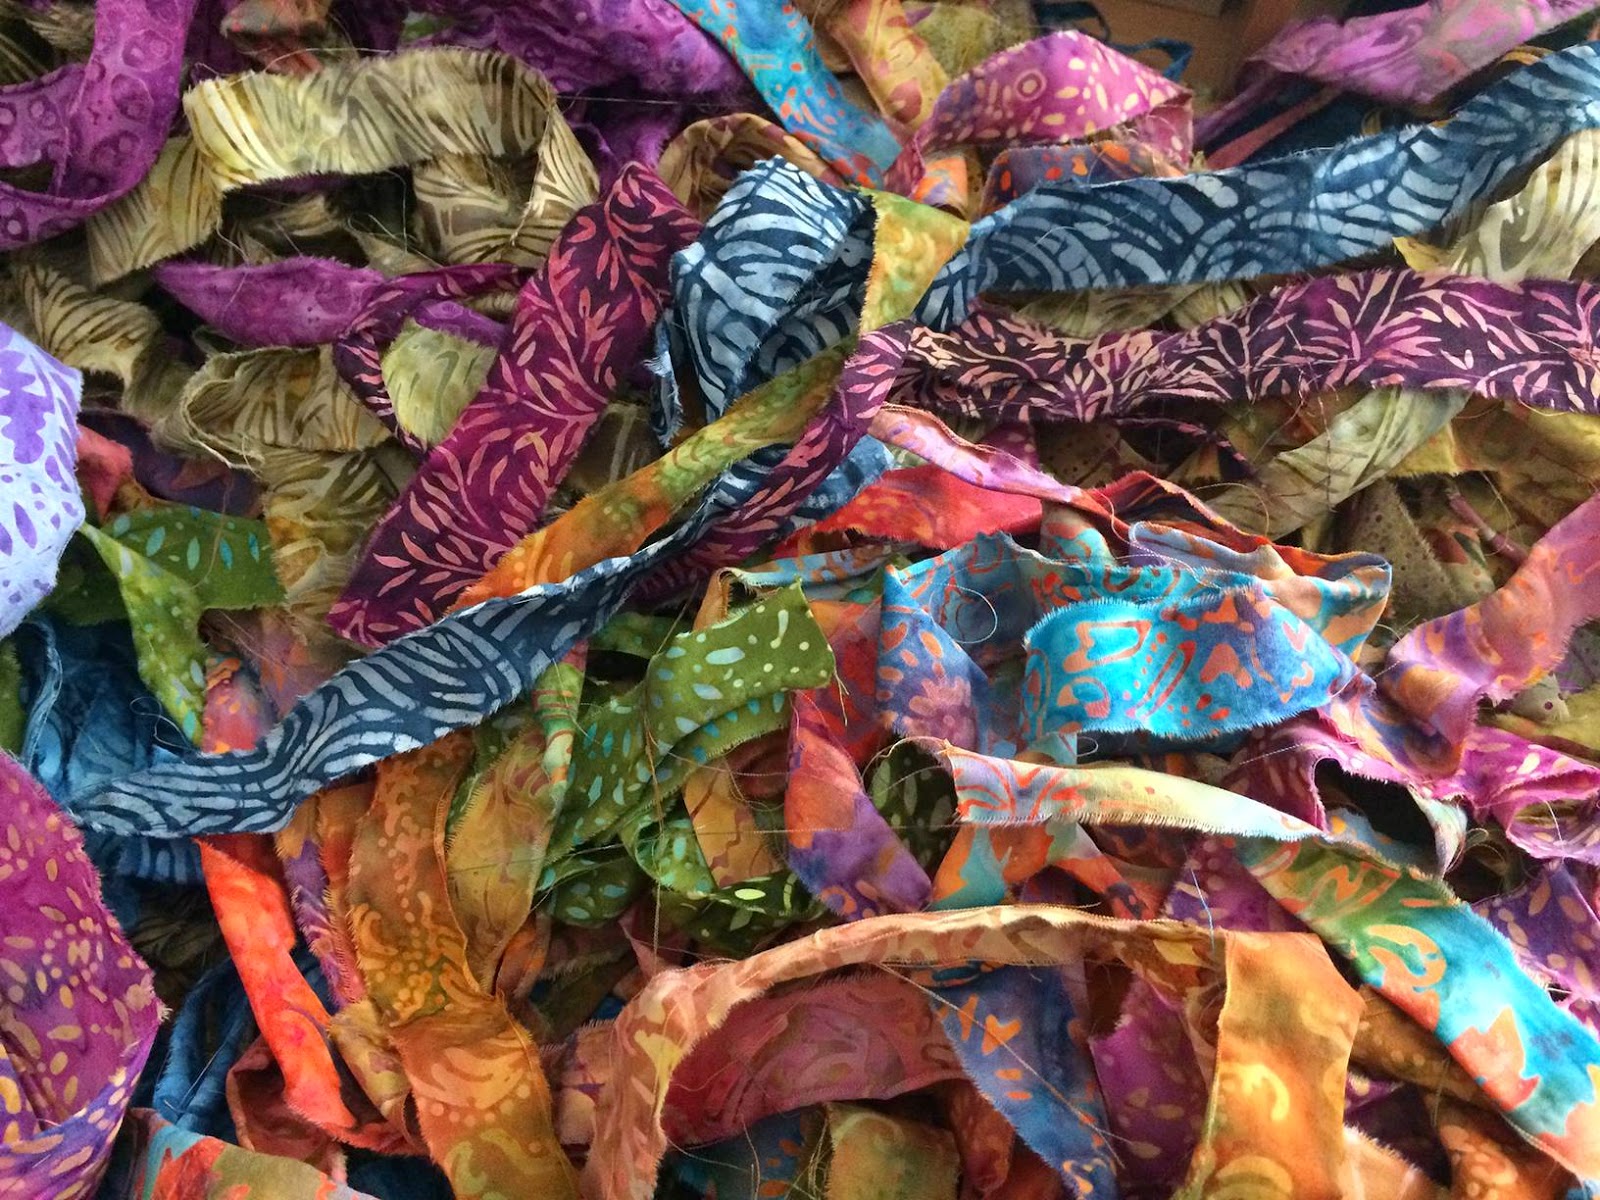
Starry Road Studio batik strips and Marsha Neal Studio 3mm silk
(you can use sari silk or many different kinds of silks, but this is what I used)

round nose pliers

chain nose pliers

flush cutters

clasp (I prefer an "s" clasp)

 chain


I had fun first laying out the different colors with my beads and figuring out which I liked best.  I really liked the blue added into the purples and yellows, but it just didn't work out when wire wrapping it up, so I switched to a more monochromatic palette.

1.  choose your colors


 2.  Wire together focal


 3.  Take a piece of fabric and a 3mm silk together (like to double them up, especially when I use sari silk, which can be thinner, this just gives a little more color and added support).  Some tips: make sure your fabric has no weak spots by gently pulling on it before using it in your design


 4. Feed both through the wrapped loop on one side and fold over


 5.  Hold them tight together


6.  take a piece of 18g wire, about 3", and hold one end with a tail sticking up, tight against the fabric


7.  begin wrapping the wire around the fabric, pushing it tightly into a coil.  this takes some practice, you need to keep tension on your piece as you wrap, holding each end of the of piece in your hands while still using your fingers


8.  when it is done, make sure you tightly crimp the top and bottom around and into the fabric.  the fact that this is tight is what holds it together


9.  You can trim the little tails off


10. now you have one side halfway done


11.  Time to add the clasp


12.  feed the fabrics through your clasp


13.  Repeat step 7 above


14.  Do the same thing on the other side.  I also added a little seed bead detail to one side, just for some more texture and fun


15. You are done!  


Now, just a word about using silk.  I sometimes like to use it only on one side of the design- as I know others do as well.  Keep in mind, your design MUST be balanced, not just visually, but by weight, or it will slide around on your neck.  I always wear my designs for a day to see how they hang, and make sure the weight is correct!  There is nothing more disappointing to a customer then buying a piece that is made to hang one way and it never does.

I leave you with some other artists who use fibers similar to the way to do, and I just LOVE their work! 

Thursday, April 2, 2015

Silk and Fabric Care

by Staci Louise Smith

As we move forward with our Fiber in Jewelry Boot Camp, I wanted to touch on the care of fibers.  

A reader had commented about being hesitant to use fabrics and such because they get dirty, and was concerned about longevity.  I had forgotten that I had those same concerns myself when I first started using silks in my work.
 These are some beautiful Marsha Neal silks on my table just begging to be made into something!

Because I work mostly with sari silk and other hand dyed silks, like Marsha Neal's, I can really only talk of the care they require.  

Longevity:  When making jewelry, I am really pretty strict about making sure it is made well and will last.  I guarantee my work, so I want it to last forever!  Of course, things happen, and I fix them when needed.  So using fiber was a bit scary to me.  I will share my tricks in a tutorial later for making sure your necklace is secure, and is  not going to break easily.  

these are batik fabrics from Starry Road Studio, still on my desk, also waiting to become something!  I cannot wait to dive in.

After I got that down, there was the care and cleaning of it.  I personally love to wear my sari silk necklaces in the summer.  They are much more comfortable and light on a sweaty neck then chain.  However......there is the sweaty neck thing.

The nice thing is, that they are fabric, and you can gently hand wash it in the sink.  I use a little warm water, along with some hand soap.  I wet the fabric, rub in some soap for a bit and rinse, rinse, rinse.  Allow it to air dry, and its all clean! 

I hope this little post will help to ease your concerns as we move forward and find new ways to use fiber in jewelry.  

There really are times when I tear a piece apart, and replace beading or chain with silks, because it either needed that pop of color they can offer, or it needed something soft for contrast.  Once I started using it, I have not looked back!  


If you have any other concerns or questions about using fabric in jewelry before we start up the boot camp, please feel free to ask!


Monday, March 30, 2015

Boot Camp: Fiber in Jewelry

by Staci Louise Smith

Well, we are finally going to get some boot camps in again!  Boot camp is a time when we, as a group, concentrate on one area of jewelry making or design.  We bring you ideas, tips, resource links and tutorials to help you try out a new area of jewelry making.

This one is on fiber in jewelry or fiber jewelry.
You can see a Boot Camp post the 2nd and 4th Monday of both April and May, as well as scattered through the month on personal posts.  

I first fell in love with fiber for jewelry way back when I was making mainly sea glass jewelry.  I went to a bead show and found Marsha Neal's silks.  I was smitten.  I ended up coming home and ordering from her online.  I was hooked on the variety of colors.  


I have never stopped loving fiber in my jewelry.

I thoroughly enjoy the softness fiber can add to a piece- it adds a softness and contrast against the hard beads.  

We will be sharing lots of ways to use fiber in your jewelry, as well as showing you some of our favorite places to buy it!  Fiber in jewelry is not limited to cording!  That is just what I have always been drawn to.  

We cannot wait to have you join us as we explore this medium.

Here are some teasers of my favorite fabric cording to start you off drooling, or in case you want to get some so you have it to try out as we go along!
I love the rustic look of recycled sari silks.  This is my favorite go to shop

Marsha had me at hello- and I am still a fan


And recently, Karen Totten has decided to use BATIK FABRIC to use as cording.  My first batch is on the way.  I have always loved batik fabric- to wear, to drool over, anything......so I am uber excited to use it for some jewelry.  Stay tuned...


I leave you with some more recent necklaces I have used fiber in......


I started a Fiber in Jewelry Board on Pinterest- you can check out lots of great artists using fiber in many ways in jewelry.

https://www.pinterest.com/stacilouise/fiber-in-jewelry/

Hopefully it brings you some inspiration!
Enjoy!

Thursday, March 5, 2015

Tutorials and Boot Camps at your Finger tips

by Staci Louise Smith


We are having a snow day here in Eastern PA today.  I think we are all ready for Spring by now, though this is a "nice" snow.  Fluffy, packs good, there is enough to make it fun and pretty and not just a messy clean up.  It is not covered with an inch of ice.....ect.  So, hopefully it is the last, but its at least a nice pretty and peaceful snowfall.

Anyhow.............................due to tax prep, tax appointment and kids being around, I am just getting to my post.

ring by karen mcgovern

There have been some nice changes to the blog that I want to share with you!

Last year we had a fun time doing Boot Camps, which were composed of many tutorials and posts on one topic of jewelry making.  They were wonderful and packed with information as well.  

earrings by barb bechtel

We have also posted random tutorials as a group through the years.

  Well, MaryAnn has organized them, and if you click on the tabs above, you can either go to tutorials and see what we have to offer- which is everything from basic wire wrapping to soldering bezels!

bezel by staci smith

Or, you can browse through the Boot Camps.  There was A LOT of information in each one, all written by different authors.  That way you not only got different tutorials and tips, but you get them from many different perspectives.

earrings by maryann carroll

Right now we are deciding on some new things for the upcoming year!  So stay tuned from more tutorials, tips and hopefully videos too from us!

Happy Creating!  

Sunday, March 31, 2013

Boot Camp Features....

Good Morning.... I'm sure that many of you are celebrating Easter. Happy Easter to you.

I would like to share some pictures that have been shared on our Flickr Boot Camp site. These two lovely selections were created by Lynda Carson from Fresh Baked Designs.

While checking out more of Lynda's work, I found a connection to her blog. Yesterday's post, I think, said it all. Please take a moment to learn more about Lynda by clicking HERE.

Thank-you, Lynda, for sharing what you created for LMAJ Boot Camp.

Chiseled Hoops

Textured pendant necklace

Please continue to share your textured metal creations. The blog hop sharing will happen on April 8th. Also, please remember that the Boot Camp Flickr account is for those of you who have created something specifically for boot camp. Although, it would be nice to share everyone's beautiful designs, we would like this to be specific to those creations created for this challenge only.

As for Lynda, you can find more about her here:

http://freshbakedjewelry.etsy.com

http://freshbakeddesigns.wordpress.com

As always, thank-you for supporting artists who create handmade with handmade.

MaryAnn

Thursday, March 28, 2013

Textured Wire Sprial Donut Connector

by Staci L. Smith

Here is just a little something you can make with your new textures- using the alphabet stamps again, combined with Stacie F's texturing wire post.
 
Take 6-8" of 12 gauge copper wire.  Spiral it into a coil, but leave a big open middle to create a sort of donut.
 
With a chasing hammer, hammer it to flatten the surface.
 
 
Then use the ball end of your chasing hammer to flatten the ends a little more.
 
 
Then I took my letter x, the period, and the letter I to make patterns on the wire.  I stamped them just like I would on sheet metal, it was just a little trickier to line them up.  Then I used my chasing hammer to flatten the wire again.
 
 
Add some liver of sulfur and polish off the high spots, and voila!  A wire textured spiral donut.


It is fun, and very sturdy, and it can be used as a pendant or a connector.
 
Hope to see what you have been playing with at our blog hop April 8th.

Monday, March 4, 2013

Wrapping it Up - Balled Head Pins

by Staci Smith

This is our last week to focus on balled head pins before switching gears.  Look here next week for a new Boot Camp.  Perhaps you will learn a new technique, or just have a chance to show off what you do with a technique you already use.  We love having this chance to interact with you all and see your creativity in action.

If you are new to Love my Art Jewelry, you can read about Boot Camp Here.


We are just wrapping up a Boot Camp that taught how to make balled head pins.  You can see that tutorial here.  (we also have a menu to the top left of the blog where you can find a link to all the tutorials we've posted here in LMAJ)


If you haven't had a chance, you can click here to go to the blog hop we had.  Everyone dug deep and did some really creative things with head pins.
 
 
 I liked this design by Lynda Carson.


I hope you enjoyed our first Boot Camp and hope it is something you all join us in through the year.  I know we had a blast.


I also wanted to give a reminder that our Art bead Love Chain is still going strong.  If you want to read about it, click the tab to the right labeled Art Bead Love Tour that looks like this.


If you would like a chance to participate, click the "Follow the Love Chain" tab that is above it.
 
Thanks again for making our firt Boot Camp a Success.  Have a creative week!