Showing posts with label ceramics. Show all posts

Wednesday, August 5, 2015

First attempt at making a silver sheet ingot

Carol Dekle-Foss
If you use silver or copper in your jewelry designs, at some point you will have to figure out what to do with your scraps. I've amassed about 10 ounces of sterling silver scrap and a MASSIVE amount of copper in about a 3 years time. It never appealed to me to turn in my silver scraps because I wouldn't be getting the amount invested in return. Especially now with silver prices so low and possibly dropping even more.

I've wanted to melt my silver into sheet ingots for rolling for awhile now, but honestly, I was too nervous. I had visions of it spilling and melting a hole in my toe! 

But.. I started thinking it's time. Time to do something with all the scraps I've accumulated and put them to use. So, with my husband taking pictures (making sure I don't burn the house down) I melted my first ingot yesterday! Yay! 

Here is how I did it and what I used. This is in no way a tutorial because I am still learning myself, but I wanted to share my results and a few things I learned along the way.

My supplies. 
The Ingot mold and Crucible I purchased at PMC Supplies on Ebay. I like the reversible one because you can make nice thick ring shanks. If you want to melt copper too, make sure you get the right ingot mold and crucible. 

Ohhh pretty flame. It's Photoshopped, I couldn't help myself! You get the idea though, you'll need a nice big beautiful flame!

The torch I use is a Smith Air/Acetylene torch, and for this project I used the #3 tip. 

First, I heated up the crucible and ingot mold. 
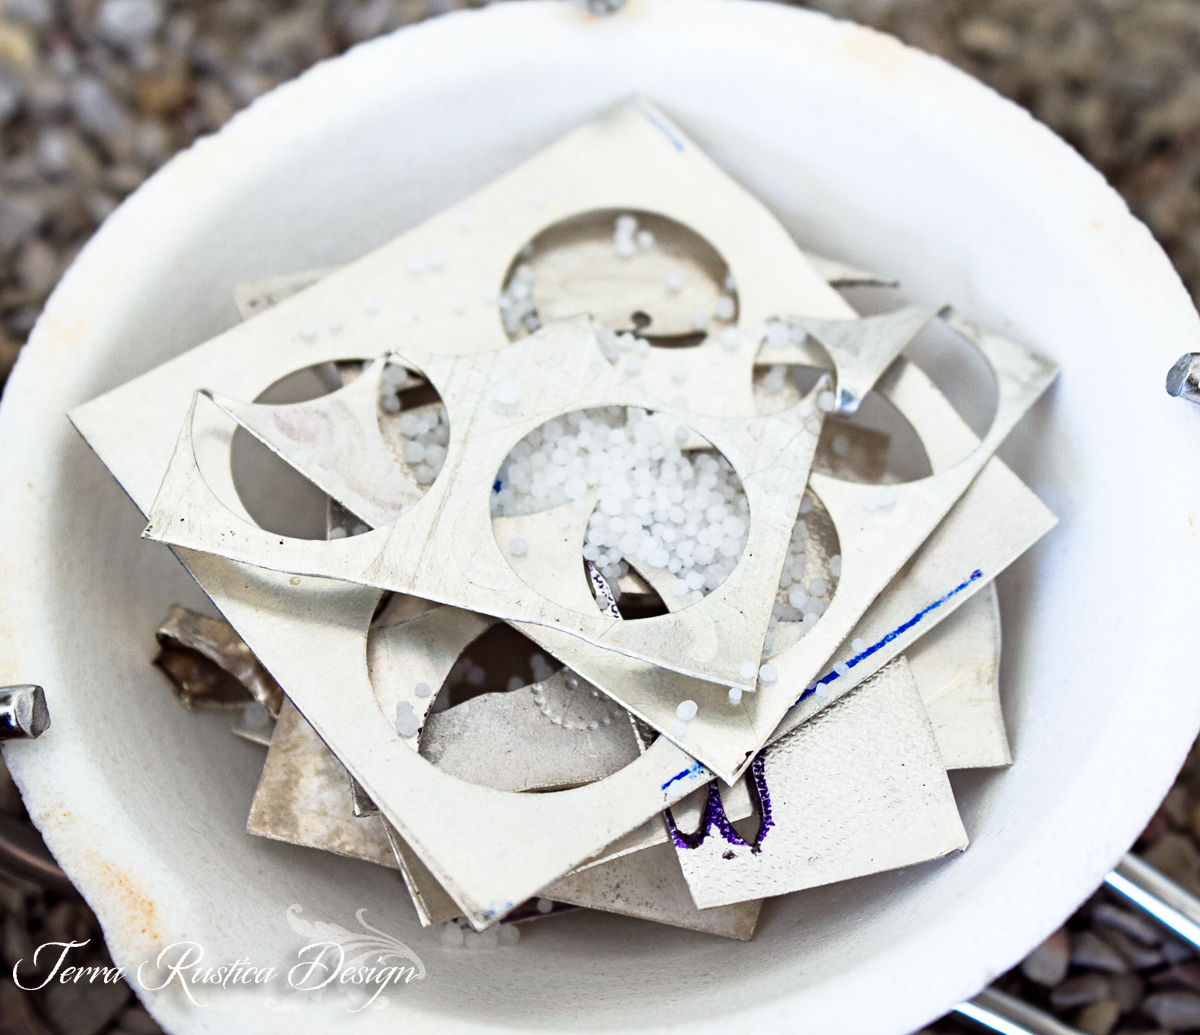
I then filled my crucible with a few pieces of silver and Borax. I guess Borax acts like a flux to help melt the metal quicker. After it started to melt, I added more pieces of silver.

Here we go!

When it started to get molten, I turned the crucible more to the side to get ready to pour. Anyone else see the creepy skeleton face?!?!!! WTH! Seriously. freaky.

And..pour quickly!

Ummm. yeah..epic fail. I poured too slowly and it created this interesting looking blob. Gotta pour fast!

I just reheated and poured again and got this. Much better. Although, I should have taken advantage of making the ingot shape smaller and it would have been a better shape. Oh well, next time!


So yeah..I made a boot. Hahahaha! That's okay, it's 20 gauge thick and will work well for backplates etc. Any suggestions on how to prevent cracking when rolling would be greatly appreciated. I did anneal it about 5 times. Maybe more annealing? 

What else have I been up to? I have a 2 day event coming up in September, so I have been preparing for that by making tons of earrings. 
I still have about 25 pairs to make, but here is what I've done so far.

I made these simple sterling silver earrings priced to sell at $18.00 each.  We will have to see how they do.

I then played with mixed metals and shapes by soldering together brass stampings to textured copper rounds.

I made these from some of my favorite ceramic beads my husband and I made.

I also played with a new shape and pattern for ceramic beads.

So that's what I've been up to! So what about you? Do you have tons of metal scrap just lying around? Have you ever done a metal scrap return? I would love to hear your thoughts.

Thank you for reading!

Wednesday, June 3, 2015

Ruffled edge treatment-Metal forming tutorial

Carol Dekle-Foss

Hello everyone! For this post I'm going to show you a simple way to create a cute ruffled edge on your jewelry designs. But first, I just have to share some of my favorite photos from a family trip to Arizona last month. Road trip anyone??
Sedona
Seven Sacred Pools, Sedona
 Arizona is amazing. It's the perfect place to recharge your batteries and find inspiration. If you haven't been, make sure to put it on the top of your list of places to visit!
 I picked up these lovelies at Dah Rock Shop in Tuscon, and they are what inspired this post on ruffles. Although, not a ruffle kinda gal, I was drawn to their curvy shape and wanted to accentuate them by creating a metal ruffled edge. I picked up this technique in my last metal smith class.
Here's the tutorial!

Ruffled Edge Treatment for Metal

What you will need:
Block of wood
Ruler
Bench vise
Cross peen hammer
files
Torch 
Sharpie
1. First, you want to cut a small piece of wood. Mine is about 2 1/2" by 1 1/2".

2. Then, mark your measurements according to what size you want your ruffles to be. My ruffles are tiny so I spaced them about 1/8" apart.

3.Using a three square file, file two grooves between your measurements.

4. First, anneal your metal to make it soft. Then, place it upside down in about a 45 degree angle to the wood block. Hammer lightly with the cross peen hammer. Not a very good pic, sorry!

Just keep hammering your piece along the edge until you are finished! You can create different size ruffles on all four sides of the block, and use them for all different types of applications!

Unfortunately, I am not loving the earrings. I think because I was more focused on ceramics,  I really didn't do my best on them. Oh well. The ceramics on the other hand, Wow! Our third batch turned out amazing!
 These are my favorite. Gorgeous earthy colors! Uh oh, I don't remember what glazes I used. I'm gonna have to start writing this stuff down.

Even hubby got involved. I am so proud of him! To be honest guys, he almost quit. He got so frustrated one day because he couldn't form the beads the way he wanted and threw them all over the studio! I held back from laughing and kept encouraging him. He is back on track, and looking to create more. Yay! I'm so excited he is involved and that we are learning ceramics together. 

I should have all of these listed to my website here by the end of the week. 

Thank you for reading!

Wednesday, March 4, 2015

We are All Made to Create

Carol Dekle-Foss
To my fellow creative souls,

Do you ever beat yourself up and think that you are not talented enough? 

Or that you don't have what it takes to make beautiful art?

Do you compare your work to that of others and feel yours doesn't measure up?

I'm guilty of this from time to time. If I'm feeling down and depressed, I think why am I creating? Who do I think I am? There is so much talent out there, let others be the creators. 


But then, I step into my studio and just create. I quit judging myself and just have fun.

So what I want to say is this, lets forget about what others are doing and be patient with ourselves. Everyone has to start at the beginning. Sometimes it takes years to hone a craft, and when we are learning, we should only compare our work to OUR OWN. When we practice and experiment we develop a stronger sense of our creative self, and our craft becomes a part of who we are.


Last month, my creative journey took me down a new path. Ceramics! I blame MaryAnn for my love of ceramic beads, I just can't resist her little wood-fired gems!

It took me awhile to figure out the basics, and I am especially grateful for all the talented ladies over at the Beads of Clay Blog. Our very own Marsha did a post here where she shows how she loads her kiln with bead trees. I was quite impressed with how she made all those beads fit so nice and organized. Thank you Marsha for sharing!

Here is my very first kiln opening!

There was squealing involved. I was shocked that none of the beads fell off or that there wasn't drips of glaze everywhere.


My loot. All these pieces were just experiments, and I have a lot to learn about clay and glazes. But that's ok, this is the fun part, the learning and honing of a craft. I have to be patient with this process, and take my time.


 My favorite piece.This little guy has been SANDBLASTED. Who would have thought you could sandblast bisque? Not me. But I experimented and this little odd thing evolved. It's sure ugly, but nonetheless, my favorite piece. I plan to expand on this and maybe even sandblast after glazing. My head is spinning with creative ideas!

We are each on our own creative journey. We should focus on crushing our own limitations, so we can develop into the creative person we were meant to be. 

Thank you for reading!

Saturday, March 16, 2013

Texturing Ceramic Clay

by Marsha Neal Studio
This month's boot camp is going to be focusing on texturing metal by hand.
Found objects are to be used with the intention of making marks on the metal surface for creating texture, which will add character to the finished piece.

I love to get out a hammer when I need to get out some frustration and hopefully create something cool without being over-zealous and destroying the piece. 
But other than wire, I don't work with metal too much these days (although I did try copper enameling last year, and loved it!)...


For a more relaxing outlet, I enjoy spending time doodling with a roller ball ink pen on smooth paper and coming up with some designs that I will use to carve into a leather-hard ceramic clay.
Sometimes if my mind, my hand, and the clay are all in sync, I can sit and free form draw/carve into the clay without having previously drawn out a design. 

Once those carved ceramic clay slabs or stamps have gotten to the finished stage, they are fired in a kiln to the bisque stage (hard and porous clay).


I can then either roll fresh porcelain onto those hard porous clay plates and get a reverse printed image or I can texture the slab with my handmade bisque stamps. 


It is those fresh textured porcelain slabs that I use to create my finished work.
After cutting out the shapes I want and cleaning up any sharp edges, they are then glazed fired to over 2232 degrees F (Cone 5).


I wrote up a blog post a while back showing my "cutout flower" process HERE.

The textures that I use in my clay work gives my body of work a fingerprint because I carve out my own texture plates from leather-hard ceramic clay. Leather-hard clay is the state of the clay before it becomes very dry. It is hard enough carve into it and get the clay to peel out easily. 
But at this stage, it is a bit too hard to press something into it.

When you are working with soft clay, just about anyone can press found objects from nature into clay or carve out textures or patterns, maybe use antique buttons, keys, or miscellaneous found objects. 
There are those that are able to carve out relief images in clay and make their own molds to produce their work. 

Being a creative individual artist is all about finding your voice and making work your own. 
Definitely not about seeing something you like that was made by another person, and setting out with the intentions of recreating it then calling it your own.

Techniques may be similar for making stamps, texturing, cutting, adding holes, finishing your work, etc. And some things such as shapes, themes, color palettes, and such are universal. 

You find something that speaks to you from within you, and you make your work from there.

Where does your inspiration for creating texture come from?

Friday, October 19, 2012

a mother, a daughter and clay

mary jane dodd


the mother


the daughter

i am in love with their work... and own some as well -


learn more about lee here

and did someone mention owls?!


soap dish by the mama