Tuesday, August 25, 2015

Happiness is......

a returning customer.

by MaryAnn Carroll

Today I just want to share a little bit about what my friend and LMAJ associate, Karen McGovern, does with discs that I create specifically for her two or three times a year. What I love about working with Karen is that she gives me lots of freedom and doesn't put limits, directions, expectations, etc. on the custom order. I am not one for custom orders because I am a little obsessive and worry that things will not turn out okay. They tend to take me twice as long.  I prefer to create freely without the unpleased customer's fictitious voice echoing in my head, "that's not what I envisioned, wrong color,  I don't really like that... etc."

Karen simply let me know that she didn't need any reds or yellows. I forgot about the yellow part between the message I read upstairs in my house and the walk to the basement where my very messy studio is! Whoops! It's the old being in your 50's thing. You'll see a couple yellows below. I am not a fan of yellow, so it isn't something I tend to favor, unless it has earthy tones to it.

She did tell me the she gravitated toward the discs that are the light caribbean blue, so I decided to make lots for this order in various sizes. The discs range from eensy weensy (1/4") to large (1 3/8"). It is actually those two sizes that are the toughest to enamel. The larger take longer and many coats to achieve a rich color and with the smalls, you have to be careful to be fast, so that the copper doesn't melt in the flame. The color can disappear from that size in a couple of seconds as well as the disc itself!

Here is what I finished up last night.


What I find amazing is how Karen uses these in so many different ways. I think anyone that see her work would agree that she is incredibly talented.


And some of my favorites.....


Karen also offers a tutorial about one way to use discs.

You can find that HERE. You can also find more from Karen on Facebook


Friday, August 21, 2015

The World's First KnotAlong - A Micro Macrame Tutorial

by Sherri Stokey
Micro macrame pendant by Knot Just Macrame.

Today's the day, folks!  A couple of weeks ago, I promised I would teach you how to do micro macrame and I'm here to do just that.  If you don't know what I'm talking about, you obviously missed this post, but it's okay!  You can still join in whenever you are ready.  If you did catch that post, you should have the supplies and materials all ready to go for this project.

Here's how it works.  I've prepared a video lesson to walk you through the steps required to make the pendant shown above.  In the process of making this pendant, you'll be learning how to make larks head knots, square knots, overhand knots and double half hitches.  You'll also be learning some micro macrame basics, the terminology and some tips and tricks I've picked up after eight years of knotting.  

Since we can't all physically be in the same room to do this, I've set up a virtual room where we can meet up:  KnotAlong Event.  That's where you will be able to post photos of your work, ask questions if you get stuck and just generally commune with other people learning macrame.  

 Are you excited?  (I am!  I can't believe I'm going to try to teach macrame to a whole bunch of people all at once!)  Let's do this (oh, and don't forget you can make the video full screen if you want)!


If you're having fun with this project, do me a favor and share it with your DIY friends.  You can help me in my quest to bring macrame back!  And if you're really having fun, you can find more tutorials (.pdf format available for instant download) in my Etsy shop and more classes (which include videos) at CraftArtEdu.

To make everything a little bit more fun, I'm also doing a couple of giveaways!  I will be giving away one of my new Drunkard's Path bracelets in great colors for fall here on Love My Art Jewelry.  Enter to win the bracelet using the widget below.  I'll also be giving away a full set of micro macrame tutorials, and the sign up for that prize at KnotJustMacrame.com.

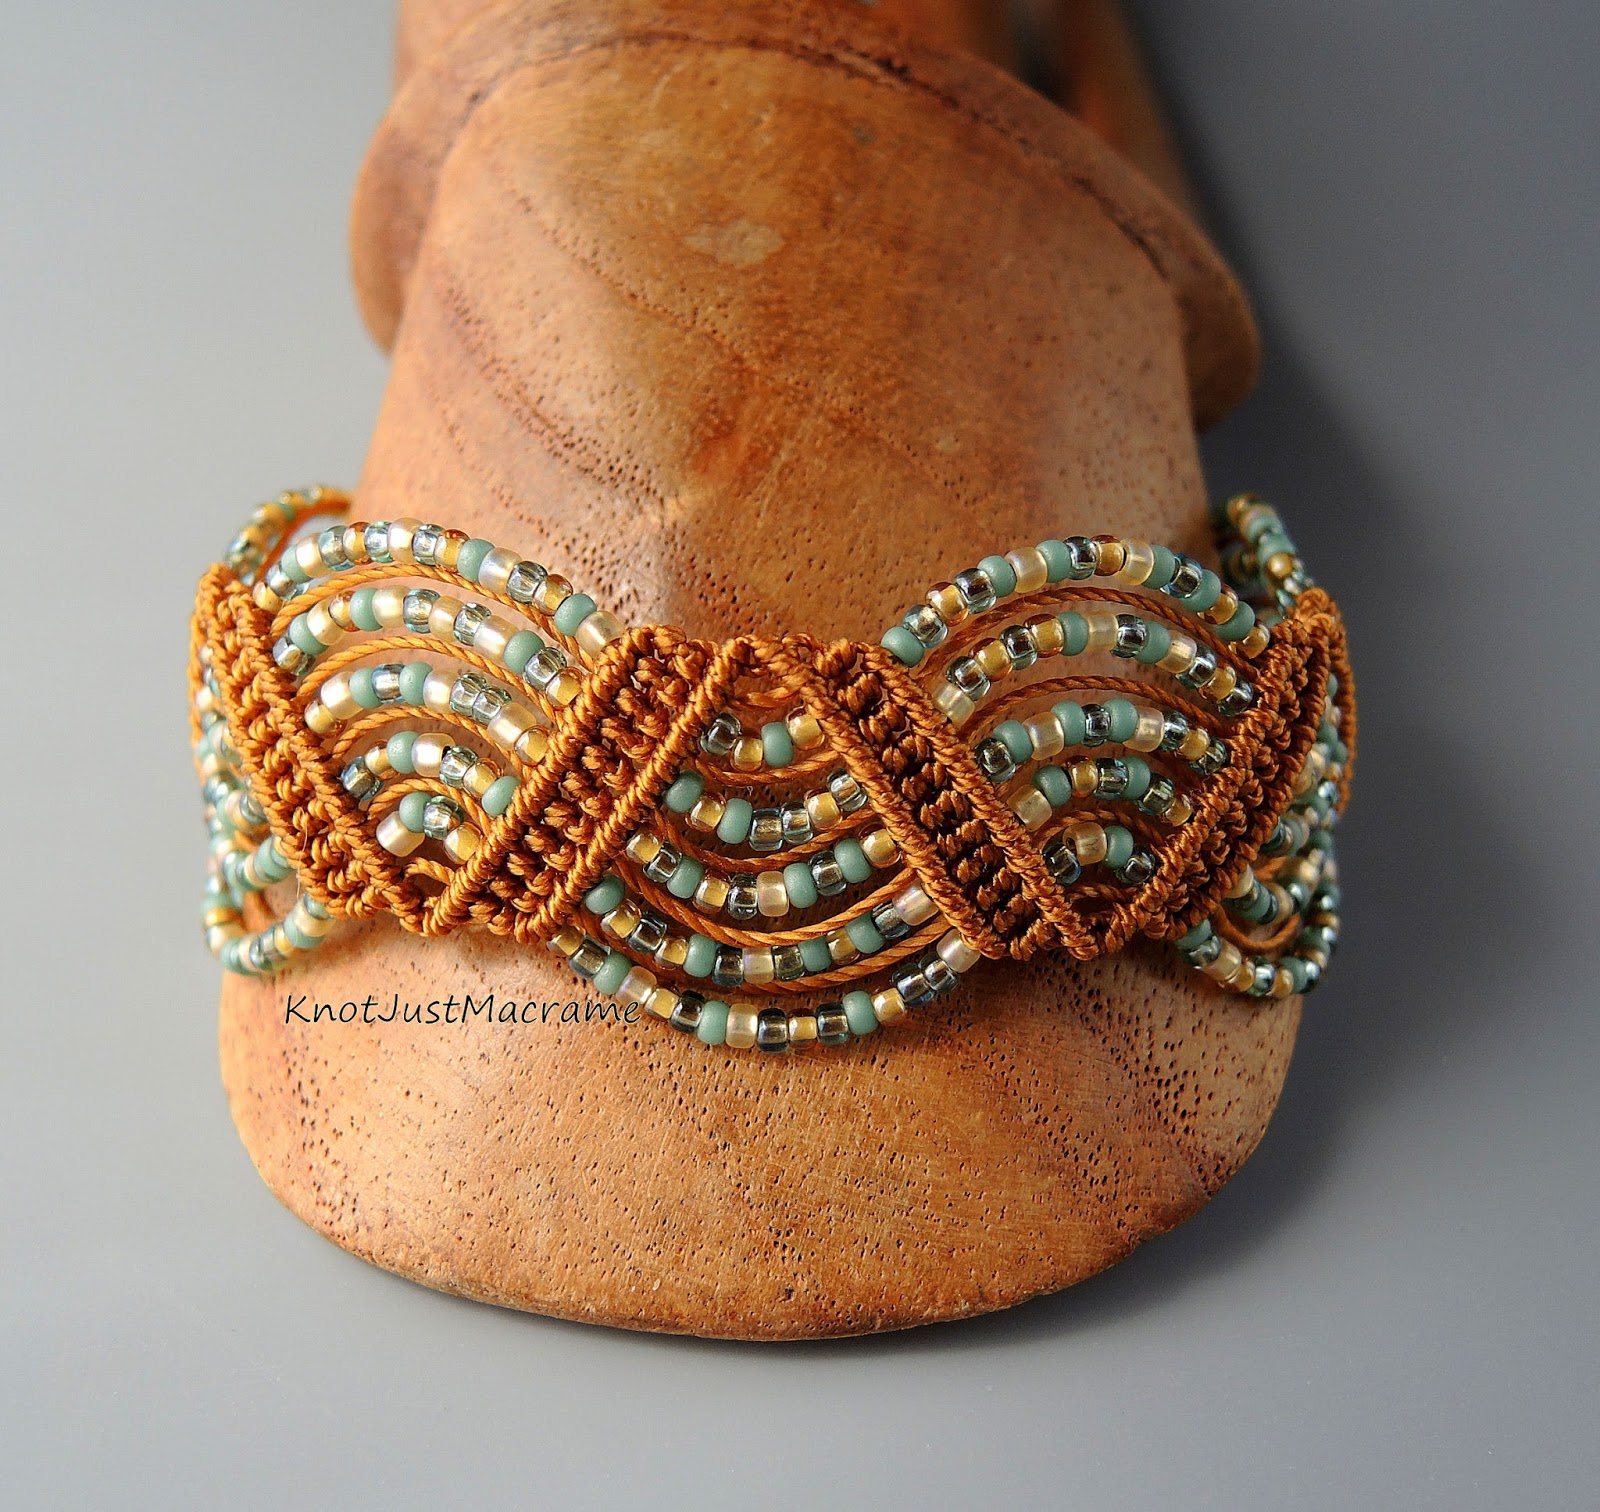
Micro macrame bracelet by Sherri Stokey of Knot Just Macrame.

Enter for a chance to win the bracelet using the widget below and I will choose a winner on August 31, 2015.  Good luck and happy knotting!!

a Rafflecopter giveaway

Thursday, August 20, 2015

BEAD FEST Fall 2015

by Staci Louise Smith

I remember just a few years back, when I was about to do my very first Beadfest.....man I was excited!  
Genea and I shared a booth, it was so fun!

It was all new and shiny- we didn't know what to expect....we were little fish in a big sea.

This year has been very different.  I know what to expect.  The nerves are not there like they were the first year..........and though I am still a little fish in a big sea, I feel like I have learned to swim better!  

This show does prove have a bit more excitement leading up to it though.  It stands out from the art and jewelry shows I do, because #1- there are lots of bead and gemstones and #2 there are lots of bead and jewelry friends I get to see.  (You can see where my love lies.)

This year, I am sharing a corner with our own Marsha Neal!!!  We are in the back of Artisan Alley with Nikki Thornburg and Diane Hawkey.

As I have been prepping (and if you want to read about that craziness you can do that here- with lots of eye candy pictures) 

http://www.stacilouise.blogspot.com/2015/08/august-beadfest-prep-and-end-of-summer.html

I have been thinking how much things have changed over the last 5 years for me.  Not just how my business has grown, but how I have grown.  I can honestly say that without the support of this wonderful bead / art community I could not have done it.  Without other artists sharing marketing tips, cross promoting, encouraging me..........well, I would have given up I am sure of it.  Anyhow, that is all.  I am thankful for my online friends, and that I get to see them at least once a year if we are all lucky.  I am thankful for this blog, which has allowed me to share what I have learned and for the ladies who have guided me and been there by my side.

(picture of some of the bead gals together for a dinner) 

I am also thankful for the readers, who read what we put on here......so we are not "talking" to ourselves (which I actually do at times....lol.  studio life can be lonely- though I usually chalk it up to "that was directed at the dog")

OK...Crazy month of prep= a very tired me.  So thanks for listening to my sentimental tired post.  Onto more fun things, like- 

A coupon to get into Bead Fest for the entire weekend for only $5.  Print this out and bring it with you- and feel free to share it.  (if enough people use my coupon I could win some free advertising).  

I am booth 572B and you can find a map of the expo center with booth numbers on the main Bead Fest site www.beadfest.com

Now for some eye candy.  After a month of intense bead making, I could NOT wait to play with the new beads.  And of course, I need samples that are current and something new to wear as well.  So, here are a few I whipped up


If you are able to come out to Bead Fest, please stop by and say hello!  Today I leave to go and set up all these goodies in Oaks.  wish me luck!


Wednesday, August 19, 2015

Fall 2015 Color Inspiration

Carol Dekle-Foss
Is it too early to start thinking about fall colors for jewelry designs? I say heck no! The fall equinox is just around the corner, so even though temperatures are high, I think it's the perfect time to check out the latest color forecasts for inspiration. 


With that being said, it's more important to choose colors that reflect who you are as an artist. Colors can by very powerful by helping you express what feelings and moods you want to evoke in your designs. 


I like to get to know Pantone's latest colors by making these boards. This helps get my creative juices flowing!


Personally for me, these are not the colors I will be working with this fall. I am being drawn more to luscious warmer shades, like burgundy, deep wine and forest green. I've started a Pinterest board here with rich colors and beautiful textures that I want to experiment with this season.

Also, here are some ceramic beads and pendants hot out of the kiln today!


Ceramic bead shop update soon to come over the next few days!

So what do you think about Pantone's new Fall 2015 color line up? Also, whats your process of choosing colors for your designs? I'd love to hear how you come up with your color combinations!

Tuesday, August 18, 2015

Don't be Held Hostage by the INTERNETS! By Karen McGovern

The online world is a tricky, crazy, spectacular, eventful, wonderful and sometimes terrifying place! My post today is inspired by a few threads I have followed online in a couple public jewelry/art Facebook groups over the past couple months.

The first subject I will call the HOSTAGE SITUATION. Folks held hostage by the fear or threat of a negative review on Etsy. I didn't know this was a thing, but evidently it is. I followed an online thread that began with an artist appealing for advice regarding a very difficult custom client for whom she had gone waaaaaay above and beyond to please but no matter what, the client was unhappy and threatened to leave a negative review of her Etsy store. This seemed to really upset the artist, almost more than the fact that her client was obviously unreasonable to begin with. Over 55 comments and replies were posted within hours. Most of the advice given made sense to me. Continue professional, calm dialogue with the client, keep copies of all emails between artist and client, and if she posts an unwarranted negative review (which this would have been), take it directly to Etsy admin. They have a division just for this very thing. Which brings me to my point....you do not EVER have to feel you are a hostage to someone's complaint unless the complaint is warranted. Keep records. Save emails. Be as up front and transparent as you possibly can and be ADULT about everything. Is one negative review on Etsy really that catastrophic? When I had a shop there, way back when the Internet was still on stone tablets or whatever, I got a review from someone that was the equivalent of an online "Meh". Not negative, but not positive either. I noted it, and moved on. I'm all about customer service. My clients know that I like to have a one-on-one dialogue, and that is one of the many, many, MANY reasons I left Etsy. It's too easy to have a pissy day and feel that somehow gives you the right to RUIN SOMEONE ONLINE.


Which brings me to my next point--a big one--DON'T BE A CYBERBULLY. I get the impulse. It's soooooooo hard to resist sometimes. You are in a group or forum of like-minded individuals (you assume, I mean remember, you've NEVER ACTUALLY MET MOST OF THESE PEOPLE IN REAL LIFE) and you have a terrible day, or interaction with someone (another artist, client, whatever) and the impulse is to TELL IT TO THE MOUNTAIN THAT IS FACEBOOK IN DEEP DETAIL. Um, DON'T, okay? Sure, that first wave of responses telling you how fantastic you are and how HORRIBLE the other person is may feel good, but wait a minute. What about the long run? What about the consequences? When I read posts that vaguely infer something awful about another artist I totally cringe. The responses are so predictable--you are wonderful, they are dirt. Then the inevitable "Tell us who you are talking about. Come on, give us a name...." If you do, you are a CYBERBULLY because you know full well how online crap works. It's the perceived anonymity, and it's also mob mentality. You know full well your "supporters" will beat the online crap out of whoever they think has wronged you whether they have all the information or not. Do you really think it's okay to potentially ruin someone online? Do you have any idea how much that can devastate someone? Before you hit "post" carefully read your remark.  Would you say that out loud and in person? Would you be able to handle it if it was said to or about YOU? If you answer "no" to either question, DON'T POST IT. Disagreements are always best handled one on one. As soon as you involve complete strangers simply for the sake of an ego boost, you become a cyberbully.


Now, ranting in a private group of friends you know and trust--that's another story. We all need to vent now and then and groups are great for that as long as they are PRIVATE. I've been that person who has had one glass of pino too many and has drunk-blabbed and over-shared to friends online. I DEEPLY REGRET IT AND WILL NEVER DO IT AGAIN. But, I do occasionally fire off a rant that I know these ladies will understand and respond to with a rousing "AMEN, SISTER!" Usually about the absurdities of life and art and living life as an absurd artist. But I will NEVER vilify another artist or client online in a public forum. The thought makes my stomach hurt and my skin crawl.

There are exceptions, I know. For example, when an artist is totally taken advantage of by a large corporation (are you listening URBAN OUTFITTERS?) or have their work stolen. Corporations, no matter what you may have heard, ARE NOT PEOPLE. And even then, smart always beats bully. Be smart. Don't make it your mission in life to ruin someone else's. Don't be a bully. We have to work together, lift each other up, encourage the best in each of us. I've been on the receiving end. It HURTS. I will never retaliate publicly. I'm better than that. So are you...all of you. Also, Facebook has this handy-dandy BLOCK capability....use it as needed.

Sorry for the serious post--it just really bugs me to read posts from artists struggling so hard to make it and ending up scared and defensive--scared of what could happen to them online somewhere. It's hard enough to deal with real life....

To make up for this sober post, here are pictures of art/jewelry currently blowing my mind (top three), and a recent design I made that came together in a way that has me so pleased (fossil stack on the bottom). It's good when the muse is on board!!


Now, GO MAKE SOMETHING AMAZING!

Monday, August 17, 2015

Tool talk...again!

Written by Patti Vanderbloemen for Love My Art Jewelry

This is a two-part post - Part One is a discussion of my most used tool in my studio, and Part Two is related to a brand-new-to-me tool.  Grab a cup of something wonderful and read along!

PART ONE
I receive lots of comments on the "finishing" of my metals - copper in particular.  I always patina the copper (with liver of sulfur), and hand buff with steel wool, though I also also use a variety of buffs on my flexshaft (but this step is not necessary).


The sheen that I achieve in my metals is not from shellac or a protectant - it's from the buffing AND the tumbler. Every single piece of jewelry I make that contains metal (that would be all of it!) has been tumbled.

This is my tumbler set up.  I have used the same Lortone Tumbler for years (this model).  I use 2 pounds of mixed stainless steel shot (this shot),  2 drops of regular, blue Dawn Dish Detergent (and only Dawn), and enough water to cover the shot and the jewelry.  I place the tumbler inside an old plastic shoe box. Why?  Once - and only once - I misaligned the cover to the tumbler, added water, turned it on and walked away.  When I came back 20 minutes later, I had water all over the floor.  So, this is just my way of containing that spilled water ('cause I still put that cover on crooked!).


I always put my finished pieces in the tumbler for 20 minutes or so BEFORE I add patina.  I have found that patina "takes better" to a completely clean piece of metal.  Yes - this adds time to my finishing work, but I prefer the final finish I achieve when I take this extra step.

As a test for this blog post, I made three sets of samples of textured copper.  For one set, after texturing, I tumbled for 20 minutes, added liver of sulfur, buffed, and then placed the patinated pieces back in the tumbler for an additional 20 minutes.  For the other set, I textured, added liver of sulfur, and buffed - no tumbling.  The following pictures are the result of my test (click on the pictures to make them larger and really see the difference). I took 2 pictures of each sample.

Sample 1: Left - tumbled / Right - no tumbling
Sample 2:  Left - tumbled / Right - no tumbling
Sample 2: Left - tumbled / Right - no tumbling
Sample 3: Left - tumbled / Right - no tumbling
Sample 3: Left - tumbled / Right: no tumbling
The burnishing effect of the shot with the copper pieces, while tumbling, adds a shine that I just cannot achieve without tons of buffing.  Even the color of the copper is enhanced, and tumbling  also hardens the metal - always a plus.

When the tumbler is done after 20 minutes or so (I have been known to keep some metals in the tumbler, such as bangles, for hours), I simply pour it out in a strainer in my sink and rinse.


Once the water runs clear, I dump the shot onto a clean, white towel and spread it out to dry.  THIS IS AN IMPORTANT STEP.  You do not want the shot to get rusty (never happened to me...yet...but my basement studio is freezing)!


STORING YOUR SHOT - Once dry, I just keep in the shot in the dry tumbler barrel.

CLEANING YOUR SHOT - A spanking new bag of shot is bright and shiny stainless.  After years of use (see photo above), it does turn dark.  I clean my shot about once every 2 months or so in one of 2 ways.  1)  I add the shot with some room temperature coca-cola (enough to cover the shot) for about 2 hours, rinse, dry.  2)  I have also cleaned my shot with water and baking soda (I do not measure - couple of tablespoons and enough water to cover), tumble for about 2 hours, rinse, dry.

A WORD ABOUT TUMBLING GEMSTONES AND CERAMICS  Now, I do not tumble anything with gemstones. If I bezel set a gemstone cabochon, I add patina to the silver, buff, and tumble AND THEN set the stone.  I actually keep a supply of both copper and sterling silver wire that I have patinated with liver of sulfur, buffed, and tumbled - in a coil - for use with gemstone beads. Yes - the wire hardens a bit - but I like the finish of tumbled wire.  Several years ago, I learned the hard way and tumbled a bracelet with turquoise beads. What a waste! Lampwork beads tumble beautifully!  I have never even attempted to tumble a piece with ceramic - I have just never wanted to take that chance of ruining the piece!

So - no secrets here - the tumbler is my best friend in the studio!  There is no hard and fast rule for tumbling - everyone has there own method...I simply found this method works best for me.


PART TWO  
I belong to several metal-related Face Book groups.  I am mostly just a lurker. Well, I started seeing a picture of a shot plate on several of these group pages, and I knew I had to have one!  I intentionally took a picture with my fingers so you could get an accurate aspect ratio - it's small!  


From my online research, I have read that Tucker Tool Company is the one reputable maker of this tool (link here). (There may be other makers - I am just not aware of any names at this point). These Tucker Tool shot plates are also available at Indian Jewelers Supply (link here) and Monsterslayer (link here), but as of the writing of this blog post, Monsterslayer it is currently out of stock.  Onward.

I researched online (outside of Face Book) how to use this tool - and it is really simple, but this technique can add such a bang to a completed piece of jewelry!  Much more intricate than just adding a ball of silver (which I still do and still love)!  Here is what you do.

Take small bits of sterling silver, and melt it on your charcoal block.  I used bits from my bowl of to-be-recycled sterling. The holes in that shot plate are small - you do not need a lot of silver!


Once melted, wait until the silver turns back to gray before you quench it in water.  I have, in the past, been too quick and picked up the red-hot ball of silver.  It is still quite malleable when it is red and can be deformed by your tweezers!


Melted balls are in my hand for size reference - tiny!
Place the ball inside the depression, and hammer.  I do not use my "good" hammers for this - this is my brass hammer that I use for stamping.


Each time I made a decorative shot (that's what the end result is called!), the shot became stuck in the shot plate.  Just grab your center punch...


Place the punch in the middle of the depression, and hammer.  The decorative shot will "stick" to the center punch and will release from the shot plate.


It does not matter that you will have a depression from your center punch in the bottom of the decorative shot, as you be soldering this to your piece of jewelry.  However, while the shot is still "stuck" to the center punch...


I use my files to round the bottom edges.


A quick whack with my hammer and the decorative shot will release from the center punch.

A picture of 4 completed decorative shot flowers.


I soldered these flowers to some hoop earrings, flanked with tiny little balls.


Finished!  A complete pair of 100% handcrafted sterling silver hoops with flower accents...that began as wire!

In my mind, I am imagining many ways to use this decorative shot - place one inside an "upside down" bead cap and you have a flower with petals; accents on a the back plate of a bezel-set pendant, etc.

To those of you that made it to the end of this extremely long blog post - thank you!  I am on the verbose side....:)

Thanks so much for staying with me and visiting Love My Art Jewelry today!!

Patti